Your Ultimate Guide to the Pen 3D Printer
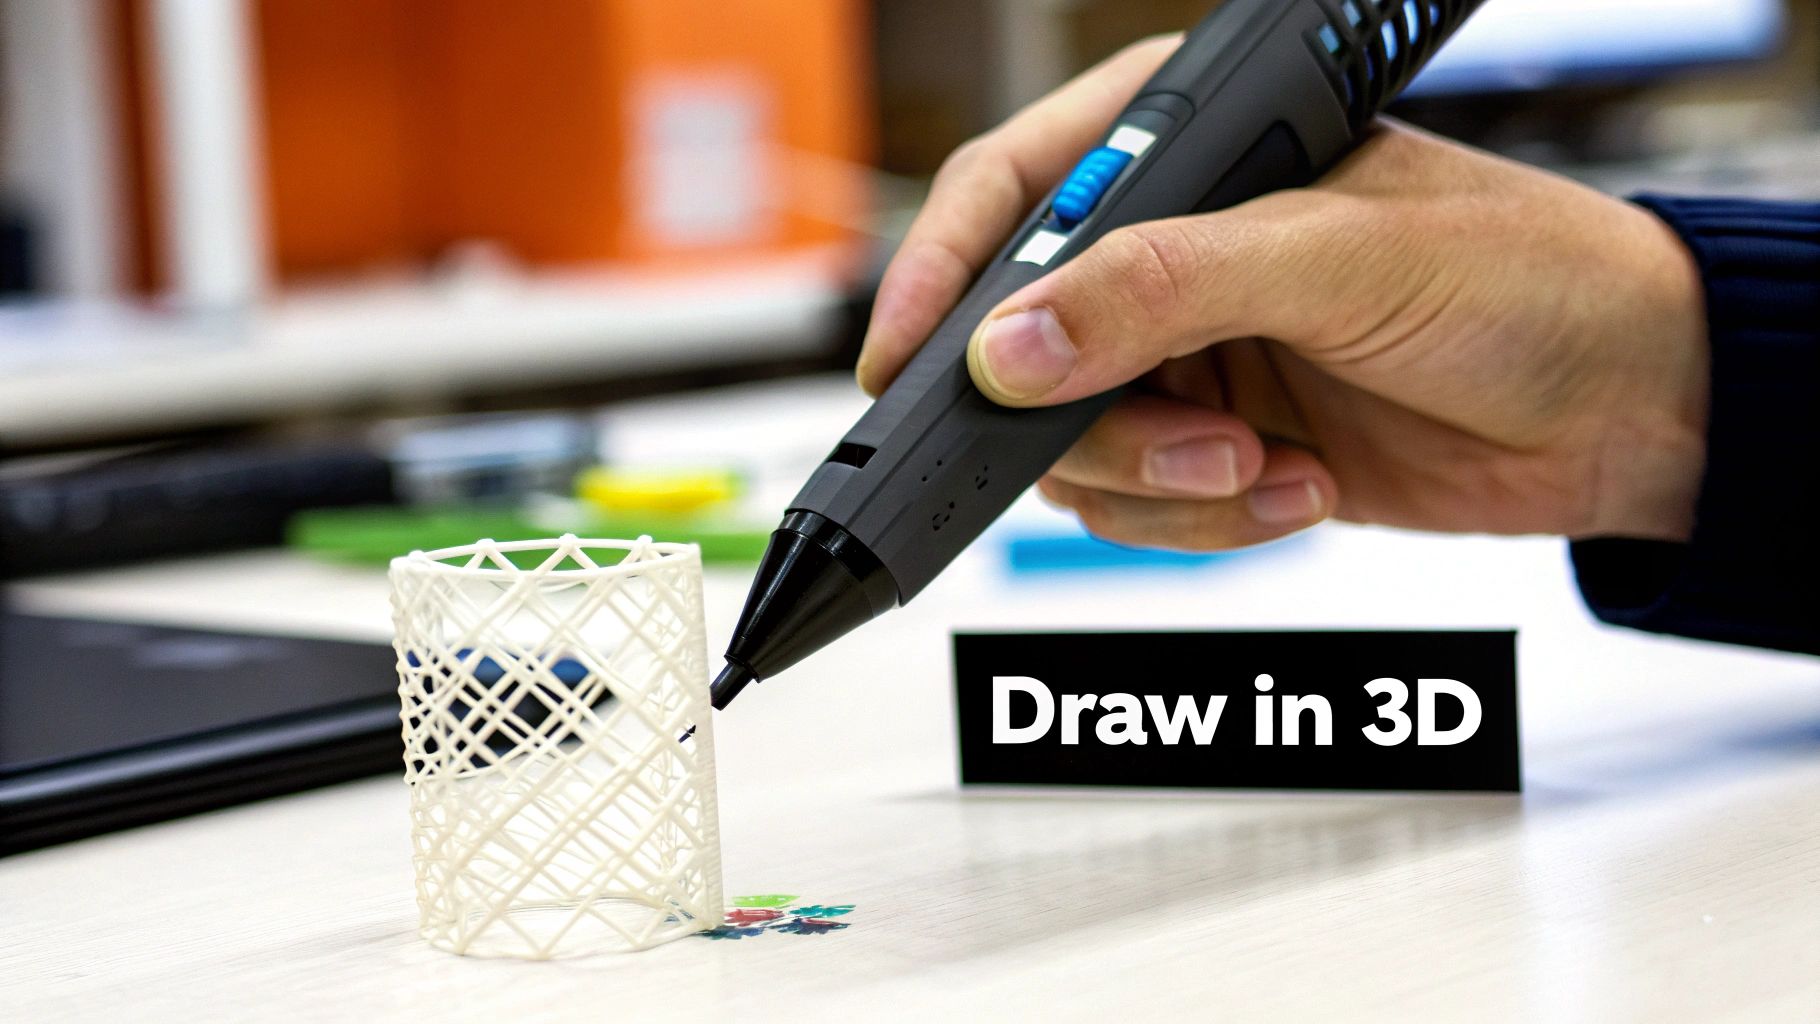
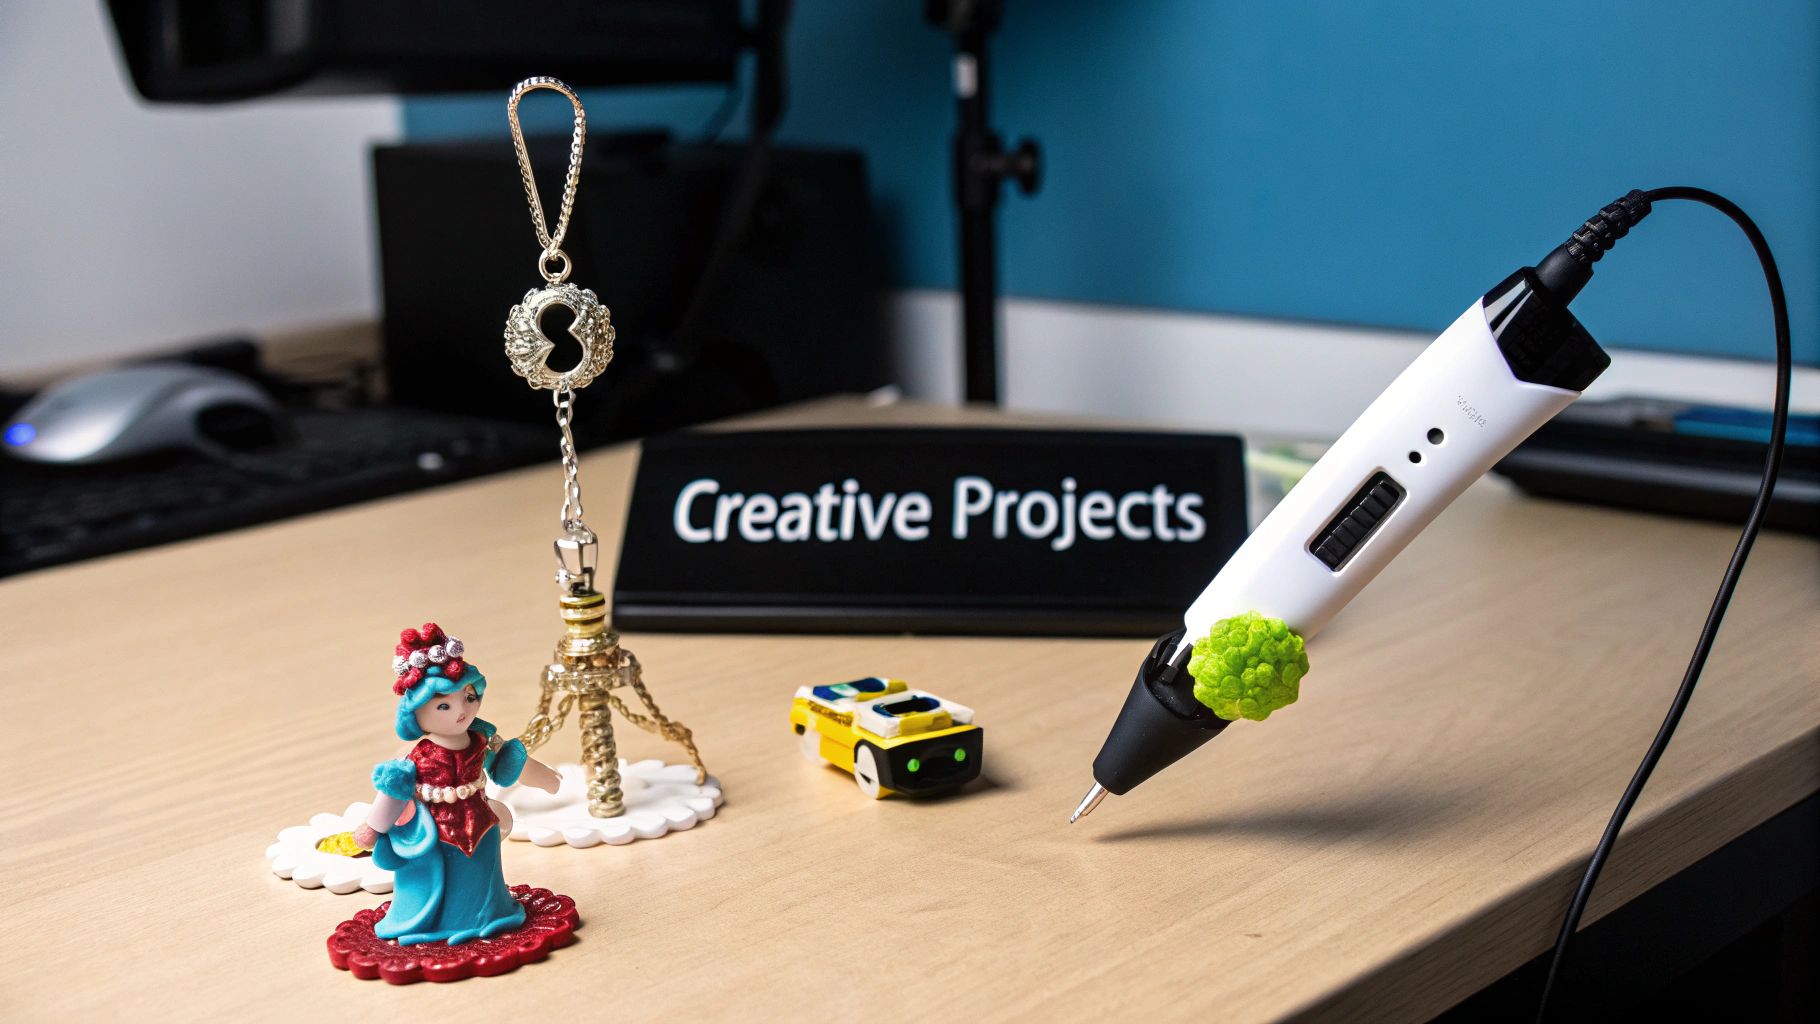
Ever seen those incredible videos of people drawing sculptures in mid-air? That’s the magic of a 3D printing pen. At first glance, it looks like a chunky marker, but it’s actually a handheld device that lets you create three-dimensional objects in real-time by extruding heated plastic.
Imagine a high-tech glue gun, but instead of sticky glue, it uses thin strands of plastic filament. This plastic melts, flows out, and then cools almost instantly, allowing you to build structures layer by layer, right in front of your eyes.
How a 3D Printing Pen Turns Ideas Into Objects
At its heart, a 3D printing pen works by taking a solid material, melting it into a liquid, and then turning it back into a solid again—all in a matter of seconds. It’s a beautifully simple mechanism that completely closes the gap between digital design and physical creation.
You don't need complicated software or a big, bulky machine. This direct, hands-on experience is what makes it such a fantastic tool for artists, hobbyists, and educators. The power of 3D printing is literally in your hand.
The Core Mechanical Process
The whole journey, from a plastic strand to a finished sculpture, happens through a quick, controlled sequence. Let's break down how the pen's key components work together to turn your hand movements into something tangible.
- Filament Feeding System: It all starts when you load a plastic filament strand into the back of the pen. A small internal motor grabs the filament and pushes it forward at a steady pace, feeding it down towards the heating chamber. This consistent feed is what ensures you get a smooth, uninterrupted flow of material.
- Heating Element: As the filament travels down the pen, it enters a ceramic nozzle—think of it as a tiny, powerful oven. This part heats up to a specific temperature, usually somewhere between 180°C and 230°C for common plastics like PLA, melting the solid filament into a molten, controllable liquid.
- Precision Extrusion Nozzle: This is where the magic happens. The melted plastic is forced out through a very fine hole at the pen's tip. The tiny nozzle gives you precise control over your drawing, and as soon as the hot plastic hits the cooler air, it solidifies almost immediately. This rapid cooling is the secret to drawing vertically and creating freestanding structures out of thin air.
This diagram shows the process in a nutshell: feed, melt, and extrude. It’s that straightforward.
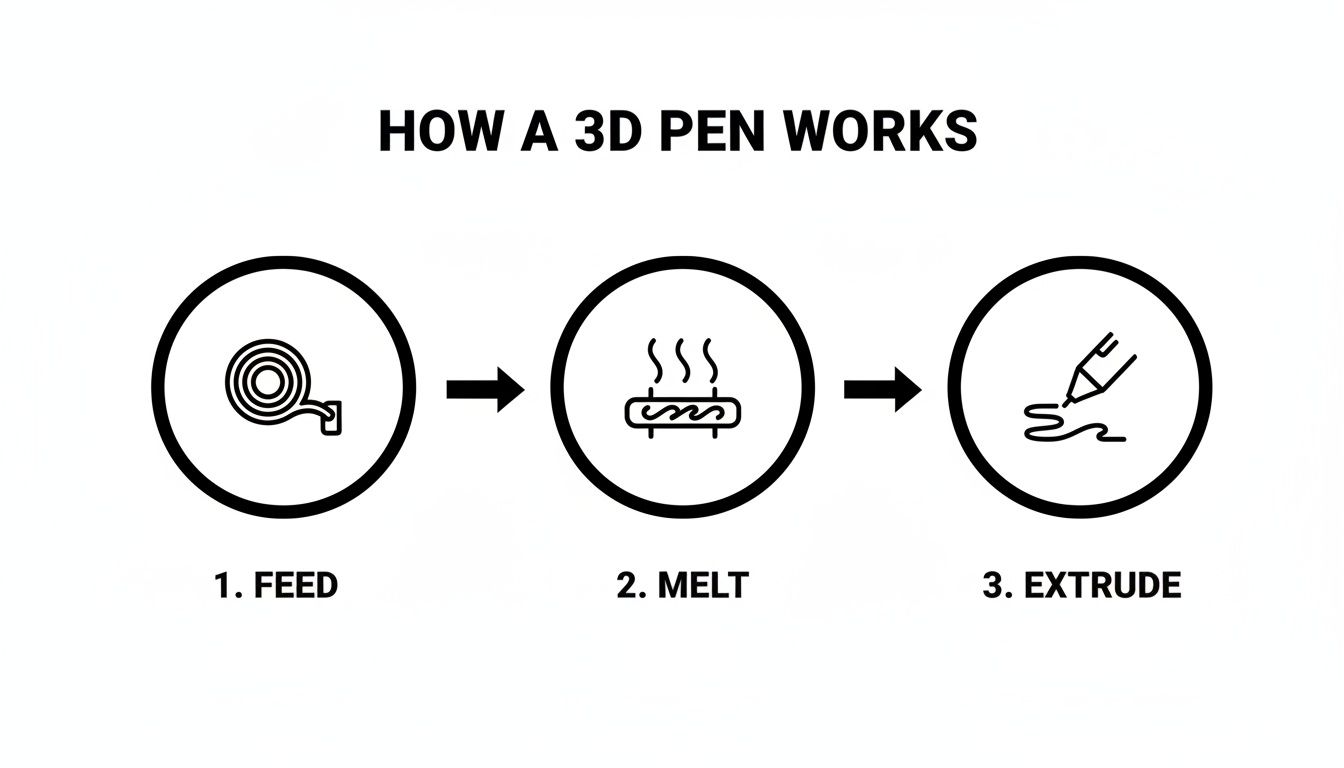
Seeing it visually makes it clear that the pen is a simple tool, converting a raw material into a creative medium through a basic mechanical sequence.
A Tool for Hands-On Learning
This direct interaction with materials and mechanics is more than just fun; it’s a powerful learning experience. Using a 3D printing pen involves practical design and construction, making it an excellent tool for all sorts of engineering activities. It’s a fun, interactive way to encourage spatial reasoning and problem-solving.
By translating a 2D movement into a 3D form, a pen 3D printer makes abstract concepts like geometry and structure tangible. It's an intuitive bridge between imagination and physical reality.
Whether you're fixing a broken plastic toy, designing custom jewellery, or just doodling in three dimensions, the technology is the same. Its power lies in its simplicity, making it a brilliant tool for anyone with a creative spark. If you're looking for some inspiration to get started, you can find out how to draw a unicorn in our related guide.
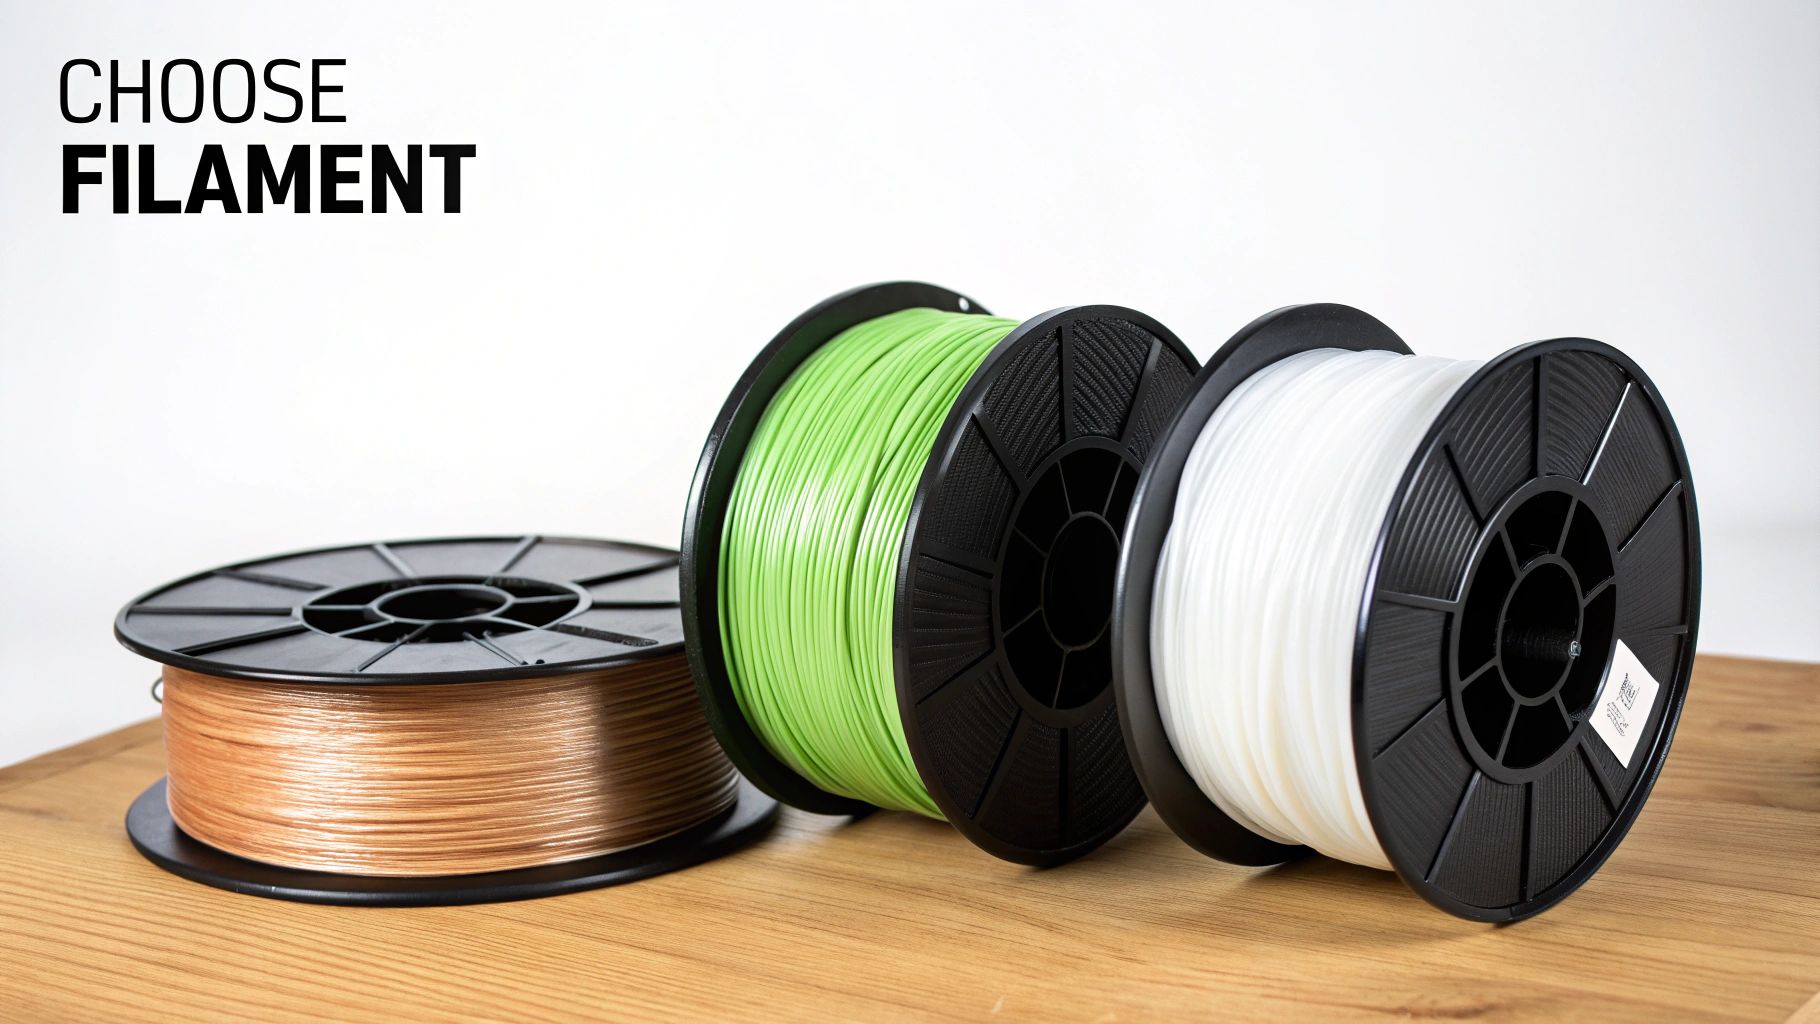
Choosing the Right Filament for Your 3D Pen
Think of filament as the "ink" for your pen 3D printer. Just like a painter carefully selects different colours and textures of paint, the filament you choose will completely define what you can create. It dictates the strength, flexibility, finish, and even the smell of your projects.
Getting to know the main types of filament is the first real step to unlocking your pen's creative power. Each one has its own personality and is suited for different jobs, from crafting delicate sculptures to building sturdy, functional objects. Picking the right one means your vision comes to life exactly how you pictured it.
PLA: The Beginner-Friendly Standard
Polylactic Acid, or PLA, is the crowd favourite for a reason. It’s a plant-based thermoplastic made from renewable stuff like corn starch, which makes it a more eco-conscious choice. More importantly for beginners, PLA is incredibly forgiving and just plain easy to work with.
One of its most famous traits is its pleasant, slightly sweet smell when heated—people often say it smells like waffles. This makes it a perfect choice for using at home, in a classroom, or any indoor space where you don't have heavy-duty ventilation.
PLA is your go-to for artistic projects, detailed models, and general creative doodling. Its low melting point and tendency to hold its shape without warping make it perfect for anyone just starting their 3D drawing adventure.
It cools and hardens fast, which is a huge help when you’re trying to create sharp details or build intricate structures that go straight up. While it’s not the toughest plastic on the block, it’s more than strong enough for decorative items, little figurines, and personalised gifts.
ABS: The Strong and Durable Option
Acrylonitrile Butadiene Styrene, better known as ABS, is the same tough plastic used to make LEGO bricks and countless household gadgets. This stuff is known for its strength, durability, and ability to handle higher temperatures than PLA.
If you’re making functional parts, fixing a broken plastic gadget, or building a model that needs to survive a bit of rough and tumble, ABS is the clear winner. Its toughness makes it ideal for projects that need to do more than just look pretty.
But that strength comes with a couple of ground rules. When you melt ABS, it gives off fumes and a distinct hot plastic smell. Because of this, it is absolutely crucial to work in a well-ventilated area. It also needs higher temperatures to melt and can be a bit trickier to master than PLA, but the strong, long-lasting results are well worth it.
Exploring Speciality Filaments
Once you move past the two big players, a whole universe of speciality filaments is waiting to give your creations unique textures and visual effects. These materials throw the door wide open for artists and makers.
- Flexible (TPU): This rubber-like filament (Thermoplastic Polyurethane) is perfect for making things that can bend and stretch. Think phone cases, wearable bracelets, or little flexible hinges.
- Wood-Infused: This is a cool composite, usually PLA mixed with super-fine wood dust. It gives your creations the look, feel, and even the scent of real wood. You can even sand and stain it for that perfect rustic finish.
- Glow-in-the-Dark: This fun filament is packed with phosphorescent materials. Just "charge" it under a light, turn off the lights, and your creations will emit an awesome glow. It’s perfect for spooky decorations or fun kids' projects.
Comparing Common 3D Pen Filaments
Choosing the right filament can feel like a lot at first, but this quick-reference table breaks down the key differences to help you decide which material is the best fit for your next project.
| Filament Type | Key Properties | Best For | Melting Temperature | Ventilation Needed |
|---|---|---|---|---|
| PLA | Easy to use, low odour, eco-friendly, slightly brittle | Artistic models, beginners, decorative items, detailed work | 180°C – 220°C | No |
| ABS | Strong, durable, high heat resistance, flexible | Functional parts, repairs, interlocking objects, toys | 210°C – 250°C | Yes |
| Specialty | Varies (flexible, wood-like, glows, etc.) | Creative projects requiring specific properties | Varies by type | Recommended |
At the end of the day, the best way to learn is to just start making things. Sticking with PLA is always a safe bet for your first few projects, but don't be afraid to try other materials as you get more comfortable. Each new filament offers a new texture and a completely different set of possibilities, turning your pen 3D printer into an even more versatile creative tool.
Bringing Your Creative Projects to Life
Now that you have a feel for how a pen 3D printer works and what kinds of filament you can use, we get to the fun part: actually making things. This is where your imagination truly takes over. Think of the pen as a bridge between doodling on paper and building complex models—it’s a playground for creators of every skill level.
The real beauty of this tool lies in just how approachable it is. You don’t need a degree in engineering or a background in 3D design to start pulling your ideas out of thin air. The possibilities are massive, stretching from quick, playful crafts to genuinely practical household solutions.
Starting Your Creative Journey
If you're just getting your hands on a 3D pen, the best way to start is with simple projects that feel satisfying and build up your confidence. The learning curve is surprisingly gentle, and a few early wins will get you excited to try more ambitious designs. A fantastic approach is to get comfortable working in two dimensions first before you even think about building upwards.
One of the most popular and effective starting points is using 2D templates. You can find thousands of these online for free, covering everything from the Eiffel Tower to your favourite cartoon characters. You simply trace the individual parts onto a piece of paper, let them cool, and then peel them off. From there, you just "weld" the flat pieces together with more hot plastic to assemble your 3D model.
Other great projects for beginners include:
- Personalising Everyday Objects: Give your phone case, notebook, or a boring picture frame a bit of flair. You can draw custom designs right onto the surface.
- Creating Custom Jewellery: Why buy jewellery when you can make your own? Design and create unique earrings, pendants, or even custom beads. Flexible filaments are brilliant for making wearable bracelets.
- Making Functional Items: Start small by crafting things you’ll actually use, like custom-shaped cookie cutters, funky keychains, or simple organisers for your desk clutter.
These first few projects are all about getting a feel for the pen—learning to control the speed and flow of the filament is the core skill you'll need to master.
Stepping Up to Advanced Creations
Once you feel comfortable handling the pen and you understand how the plastic behaves, you can move on to bigger and better things. This is where you can start tackling projects that demand a steadier hand and a bit more planning, truly testing the limits of what a pen 3D printer can do.
Many of these advanced techniques involve building directly up into the air, a method often called "free-drawing." It takes patience, for sure, but it lets you create beautifully intricate and organic shapes that would be incredibly difficult to make any other way.
Ready for a challenge? Try some of these more advanced ideas:
- Detailed Figurines and Miniatures: Craft your own custom characters for tabletop games or build small, detailed sculptures of animals and mythical creatures.
- Small Architectural Models: Sketch out building designs in three dimensions, creating miniature models of houses, bridges, or famous landmarks.
- Minor Household Repairs: Use a durable filament like ABS to fix broken plastic items. You can rebuild a snapped-off clip on a container lid or reinforce a cracked gadget casing. This is where the tool goes from being a fun hobby to a practical problem-solver.
A 3D pen is more than just an art supply; it’s a powerful tool for developing skills central to what STEAM education is all about, encouraging creativity, problem-solving, and spatial reasoning in a hands-on way.
Professional and Artistic Applications
Beyond hobbies and home repairs, the pen 3D printer has carved out a niche for itself in a surprising number of professional fields. Its ability to create physical objects quickly and cheaply makes it a brilliant asset for everything from rapid prototyping to fine art.
In the design and engineering world, professionals use 3D pens to sketch out concepts in physical form. It allows them to test the look and feel of a product idea in minutes, instead of waiting hours for a traditional 3D printer to finish a job. It’s a fast, agile way to visualise and tweak ideas on the fly.
Fashion designers have also started using the tool to create one-of-a-kind wearable art. They can craft intricate, lace-like patterns, build avant-garde accessories, or add 3D embellishments directly onto fabric, pushing the boundaries of what's possible with textiles. The pen gives them a level of customisation and structural freedom that’s tough to replicate.
From quick fixes around the house to elaborate works of art, the applications are genuinely limitless. If you're keen to explore more hands-on pastimes, you can discover a whole world of creative hobbies in our other articles.
How 3D Pens Are Driving Dutch Innovation
It’s easy to see a pen 3D printer as a fascinating creative tool, but it's much more than that. It's a small but mighty catalyst for innovation, especially right here in the Netherlands. Its direct, hands-on nature perfectly mirrors the Dutch cultural shift towards practical problem-solving and tangible learning, shaking up sectors from healthcare to education.
This simple handheld device represents a genuine movement. It puts the power of rapid prototyping and custom fabrication into the hands of students, doctors, and designers, sparking a new wave of grassroots innovation from the ground up.
A New Dimension in Dutch Healthcare
The Dutch healthcare sector has been incredibly quick to spot the potential in 3D printing, particularly with technologies that work like a high-precision pen 3D printer. The core principle—extruding material layer by layer—is making customised patient care not just possible, but affordable.
Take surgeons, for example. They're using similar extrusion-based tech to create patient-specific anatomical models before a complex operation. Holding an exact 3D model of a patient's organ lets them plan their surgical approach with incredible accuracy, which means lower risks and better outcomes. It's a huge leap forward for personalised medicine.
This isn't just a niche trend; the growth is undeniable. The Netherlands Healthcare 3D Printing Market, which was valued at 14.92 USD Million, is expected to skyrocket to 40.37 USD Million by 2032. The segment for Droplet Deposition/Extrusion-Based Technologies, the same tech that powers 3D pens, is showing a staggering CAGR of 23.15%. You can dig deeper into these healthcare 3D printing market findings to see the full picture.
By enabling the rapid creation of custom prototypes and medical aids, extrusion technology shrinks the gap between a medical challenge and a workable solution. It’s a prime example of how accessible tools can drive meaningful advancements.
This growth isn't just about massive industrial machines. It signals a widespread acceptance of the core technology, clearing the way for smaller, more agile tools like the 3D pen to find their place. Think custom grips for medical instruments or educational models for patient consultations—the possibilities are endless.
Empowering the Next Generation of Innovators
Nowhere is the impact of the pen 3D printer more visible than in Dutch classrooms and workshops. Educators are embracing these tools to make abstract concepts tangible, completely changing how subjects like geometry, engineering, and even biology are taught.
Instead of just staring at a diagram of a DNA helix, students can now draw one themselves, building a physical, intuitive understanding of its structure. This kind of hands-on engagement doesn't just improve comprehension; it sparks a genuine curiosity for STEAM (Science, Technology, Engineering, Arts, and Mathematics) fields.
This approach builds skills that are absolutely crucial for the future:
- Spatial Reasoning: Students learn to think and design in three dimensions, a fundamental skill in engineering and design.
- Problem-Solving: When a design fails, they have to figure out why and try again. This builds resilience and sharpens analytical thinking.
- Creative Confidence: The low barrier to entry means students can experiment without fear, knowing they can bring an idea to life in minutes.
Ultimately, the pen 3D printer is a gateway to the wider world of digital fabrication. It’s an accessible, affordable tool that demystifies 3D printing, encouraging a new generation of Dutch makers, artists, and professionals to think differently, experiment boldly, and build the future with their own hands.
How to Choose Your First Pen 3D Printer
Stepping into the world of 3D drawing is an exciting moment, but let's be honest—picking your first pen 3D printer can feel a bit overwhelming with all the options out there. The best way to think about it isn't like buying a complex gadget. It's more like an artist choosing the right paintbrush; the best one is simply the one that fits your creative style, comfort, and budget.
To make a great choice, you only need to focus on a handful of key features. Understanding these will help you cut through the noise and find a pen that feels like a true creative partner, whether you're a hobbyist, an educator, or a parent looking for a fun, safe activity for your kids.
This guide will walk you through the most important things to consider, giving you a clear path to finding the perfect tool for your projects.
Temperature and Speed Controls
One of the most important features to look for is adjustable settings. Just like different filaments need different melting points, different projects call for different drawing speeds. Having control over both gives you a massive amount of creative freedom.
- Variable Temperature: This feature lets you switch between different filament types, like PLA and ABS, without needing to buy a new pen. It also allows you to fine-tune the heat for specialty materials, ensuring a smooth, consistent flow and preventing those frustrating clogs.
- Adjustable Speed: A slower speed is your best friend for intricate details and delicate work, giving you more time to be precise. A faster speed is brilliant for filling in larger areas or building up structures quickly. A pen with multiple speed settings lets you adapt on the fly.
A pen with fixed settings might seem simpler at first, but one with variable controls is far more versatile. It grows with your skills and lets you experiment with a much wider range of materials and techniques.
Filament Compatibility and Ergonomics
Next up, think about what you actually want to create and how long you plan on drawing in one sitting. The pen's compatibility with different filaments and how it feels in your hand are absolutely crucial for a good experience.
Most pens use the standard 1.75mm filament size, which is great news. It means you’ll have a huge selection of colours and material types to choose from. Also, pay close attention to the pen's design. A lightweight, ergonomically shaped pen will be comfortable to hold for those long creative sessions, saving you from hand fatigue.
Safety Features and Power Source
Safety should always be a top priority, especially if the pen 3D printer is for younger creators or will be used in a classroom. Thankfully, modern pens come with some excellent built-in safety measures that provide real peace of mind.
Look for these key features:
- Automatic Shut-Off: This is a vital feature that turns the pen off after a few minutes of inactivity. It prevents overheating and seriously reduces any potential fire hazards.
- Ceramic Nozzle: Many newer models use ceramic for the nozzle tip because it cools down much faster than metal, which lowers the risk of accidental burns.
Also, check the power source. Most pens are corded and plug into a wall outlet or a USB port, giving you consistent, reliable power. Some models are wireless, offering more freedom of movement but requiring you to keep them charged.
The desktop 3D printing revolution in the Netherlands, which includes these user-friendly pen variants, shows a huge national interest in accessible creative tools. The desktop segment alone was valued at USD 16.8 million and is projected to quadruple to USD 82.2 million by 2030, reflecting massive demand from both consumers and educators. You can find more insights about the European 3D printing market trends on mordorintelligence.com. For creators on a budget, it's also worth looking into expensive art supply alternatives and budget-friendly creative tools to keep costs down without sacrificing quality.
Essential Safety and Maintenance Tips
Getting your hands on a pen 3D printer is an amazing feeling, but like any good tool, treating it with respect is the secret to a long and happy creative partnership. The single most important rule is dead simple, but absolutely critical: the nozzle gets incredibly hot.
We're talking temperatures that can easily shoot past 230°C.
You need to treat that glowing tip with the same caution you'd use for a hot glue gun or a soldering iron. Never, ever touch it while the pen is on or even right after you’ve switched it off. It needs a good few minutes to cool down properly, and learning this patience will save you from a nasty burn.
It's also smart to think about your workspace. Always make sure you're in a room with decent airflow. While PLA filament is pretty tame with hardly any smell, other materials like ABS can give off fumes that you're better off not breathing in. A tidy, organised desk helps too—keep anything flammable well away from your drawing zone.
Keeping Your 3D Pen in Top Condition
Good maintenance isn't about becoming a master technician; it's mostly about building a few simple habits. The number one headache people run into is a filament jam, but a little bit of care can make them almost a non-issue, keeping your pen 3D printer ready to go for years.
Follow these simple rules to keep your pen running smoothly:
- Always Trim Your Filament Ends: Before you feed a new strand of filament in, grab some clippers and snip the end off at a clean, 45-degree angle. This gets rid of any weird, melted, or flattened bits from last time and helps it glide into the pen without a fight.
- Unload Filament When You're Done: This is a big one. Don't just turn the pen off and leave the filament inside. Take the extra 10 seconds to retract it properly. If you let it cool down and harden inside the mechanism, you're just asking for a jam next time you turn it on.
- Use That Little Cleaning Rod: Most pens come with a skinny metal rod for a reason. If you think there might be a small clog, heat the pen up, make sure it's unloaded, and gently push the rod through the nozzle to clear out any stubborn bits.
Think of it like cleaning your paintbrushes after finishing a painting. A few moments of care at the end of a session ensures your pen is primed and ready for that next spark of inspiration.
By weaving these simple safety and maintenance habits into your creative process, you’ll make sure your 3D pen stays a source of fun, not frustration.
Got Questions About 3D Printing Pens?
So, you’re thinking about diving into the world of 3D printing pens, but a few questions are probably rattling around in your head. That's perfectly normal. This section is here to clear up the most common queries so you can get started with total confidence.
Think of this as the final check before you jump in. We'll tackle those nagging uncertainties, freeing you up to focus on what really matters: unleashing your creativity.
Are 3D Printing Pens Safe for Kids?
Absolutely, but with a bit of common sense. Many pens are designed with younger creators in mind, but safety always comes first. The trick is to look for models that use low-temperature PCL filament, which melts at a much cooler 60°C.
Look for essential safety features like an automatic shut-off function and a ceramic nozzle, which cools down way faster than a metal one. Even with these in place, adult supervision is always a good idea, just to make sure little hands remember not to touch the hot tip.
Can I Use Just Any Filament in My 3D Pen?
For the most part, yes. As long as the filament diameter is the right size for your pen—usually 1.75mm—you're good to go. Most standard PLA and ABS filaments are interchangeable, which opens up a huge world of colours and materials to play with.
That said, some brands design their pens to work best with their own proprietary filament. As a general rule, sticking with well-known filament brands is a smart move. It’ll help you avoid clogs and keep the plastic flowing smoothly every time you start drawing.
Expert Tip: To keep your pen running like a dream, always snip the end of your filament at an angle before you load it. It’s a simple trick that goes a long way in preventing jams and keeping your creative sessions frustration-free.
How Hard Is It to Get the Hang of a 3D Pen?
Honestly, the learning curve is surprisingly gentle, which is why these tools are great for all ages. If you’ve ever used a hot glue gun, you’ve pretty much got the basic skills down already.
A great way to start is by tracing 2D shapes on paper. Once they cool down, you can peel them right off and "weld" them together to build your first 3D objects. Most people find they can create simple, satisfying little designs within the first hour. The whole process feels really intuitive and practically begs you to learn by just experimenting and having fun.
At People & Media B.V., we’re all about the power of hands-on learning and creative exploration. Our platform is packed with resources to spark your next project and connect you with a community of fellow makers. Discover courses, articles, and more to fuel your curiosity at https://www.peopleandmedia.com.


Responses