Build a Raspberry Pi for NAS Your Own Private Cloud
Absolutely. Using a Raspberry Pi for a NAS is a brilliant, low-cost project if you want to take control of your own data. It turns that tiny computer into your own private file server, letting you centralise backups, share files across your home network, and finally ditch those monthly cloud storage fees. It’s a fantastic way to build something genuinely useful while picking up some serious tech skills along the way.
Why Bother Building Your Own Raspberry Pi NAS?
Before we start talking about hardware lists and command lines, it’s worth asking the big question: why go to all the trouble of building a Network Attached Storage (NAS) with a Raspberry Pi? The truth is, it’s about more than just tinkering with a gadget. It’s about reclaiming a bit of digital independence and creating a tool that works exactly how you want it to.
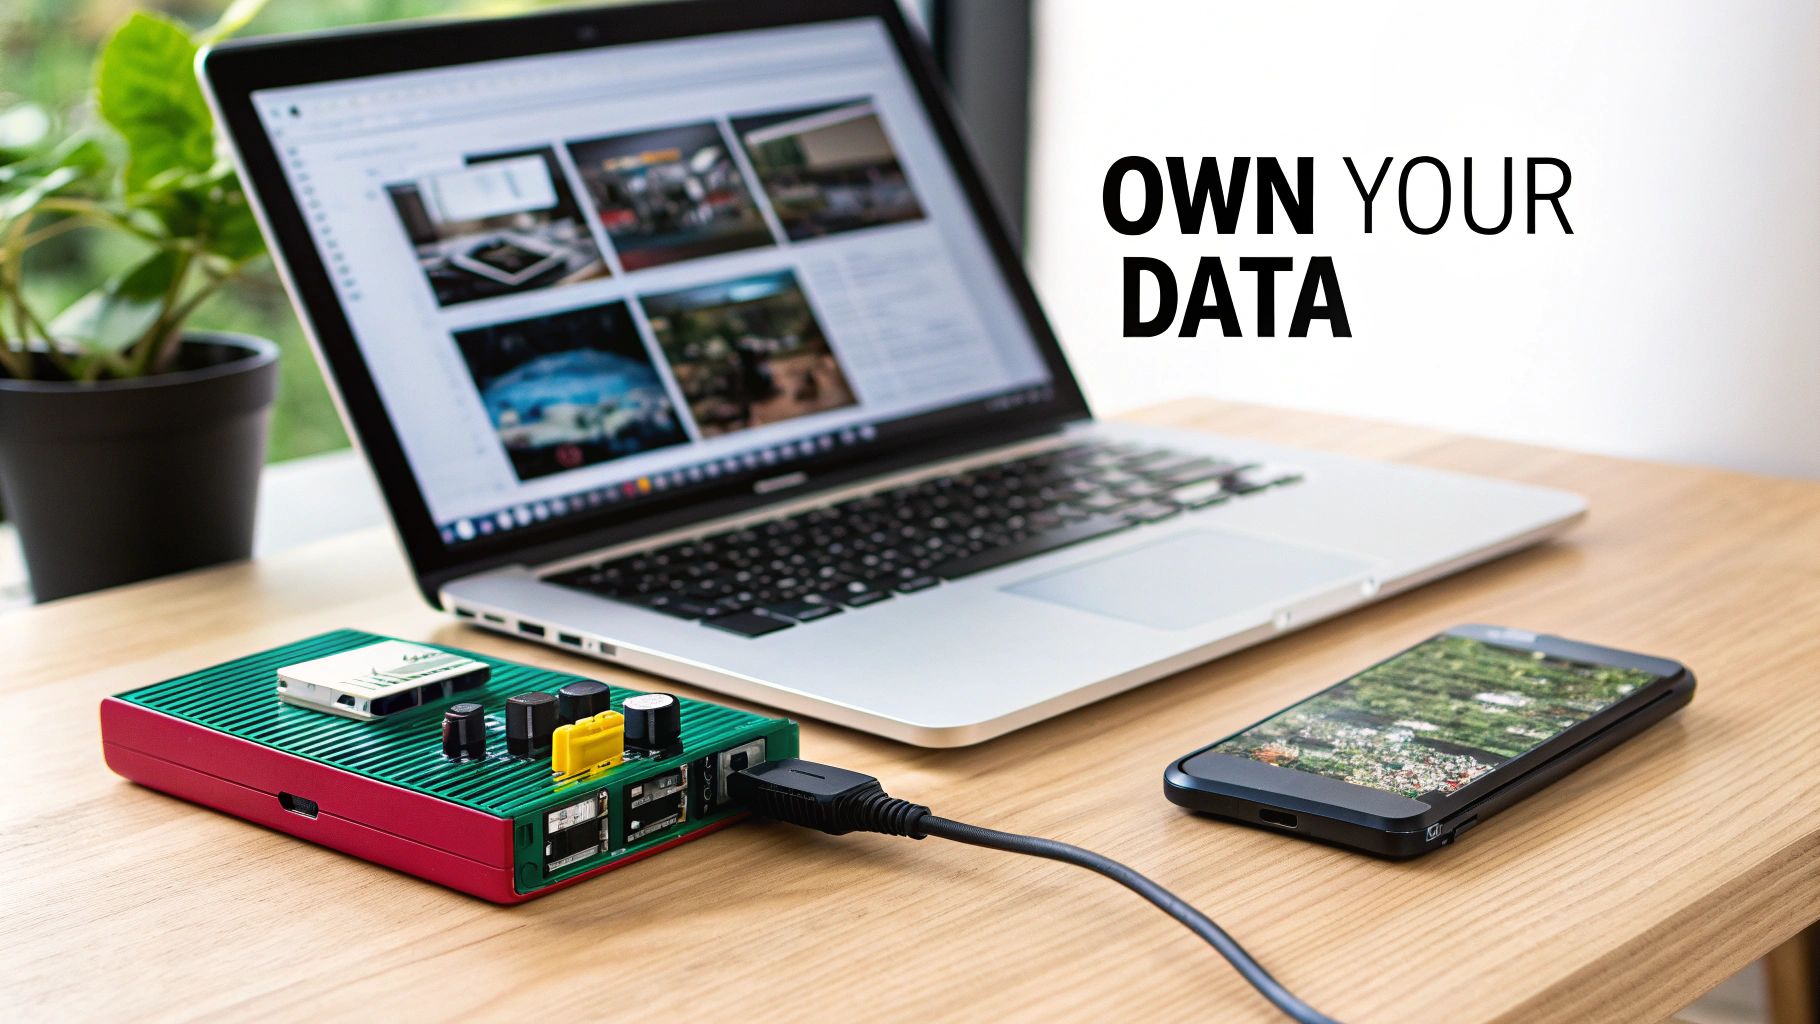
Sure, commercial cloud storage is convenient, but it comes with never-ending subscription costs and some serious privacy trade-offs. Your personal photos, important documents, and private projects all live on servers owned by massive corporations. Building a Raspberry Pi for NAS completely flips that model upside down.
You become the cloud provider. Your data lives in your home, on your hardware, under your control. This shift offers not just peace of mind but tangible benefits in how you manage your digital life.
The Value of Data Sovereignty
The real magic of a DIY NAS is data ownership. You’re the one who decides where your files are stored, who gets to access them, and how they’re protected. There are no terms of service that can change overnight or accounts that can be shut down without warning. For anyone who cares about privacy, exploring these kinds of Dropbox alternatives and private cloud storage solutions is the next logical step.
This project puts you firmly in the driver's seat for:
- Cost Control: The initial hardware investment is a one-off cost. After that, your only recurring expense is the tiny amount of electricity needed to run the Pi, which uses far less power than an old desktop or a commercial server.
- Total Customisation: Your NAS can be whatever you need it to be. Start with simple file sharing, then expand it later to become a media server, a private photo gallery, or even a secure way to access your files when you’re away from home.
- Skill Development: Honestly, the journey of building a Raspberry Pi NAS is a fantastic hands-on education. You'll get real-world experience with Linux, networking basics, and storage management—skills that are incredibly valuable.
To put this into perspective, let's look at how a Pi NAS stacks up against the other common options.
Raspberry Pi NAS vs Commercial NAS vs Cloud Storage
| Feature | Raspberry Pi NAS | Commercial NAS (e.g., Synology) | Cloud Storage (e.g., Dropbox) |
|---|---|---|---|
| Initial Cost | Low (£50–£150 + drives) | Moderate to High (£200–£1000+) | Zero (for basic tier) |
| Recurring Cost | Minimal (electricity) | Minimal (electricity) | Monthly/Annual Subscription |
| Control & Privacy | Complete control | High, but relies on vendor software | Low, data on third-party servers |
| Ease of Setup | Moderate (requires some DIY) | Easy (plug-and-play) | Very Easy (sign up and go) |
| Performance | Good for home use, limited by Pi hardware | High, designed for performance | Varies, dependent on your internet speed |
| Customisation | Extremely high | Limited by manufacturer's ecosystem | Very limited |
As you can see, the Pi NAS hits a sweet spot, offering unparalleled control and customisation for a fraction of the cost of a commercial unit. While it requires a bit more effort to set up, the payoff is a system that's truly your own.
Real-World Scenarios and Use Cases
Think of a freelance photographer who needs a reliable way to archive thousands of high-resolution images. Instead of paying for terabytes of cloud storage every month, they can build a Pi NAS. Photos from their laptop and phone can be automatically backed up to a central, secure library they can access from anywhere.
Or imagine a family wanting to create a shared media library. All their movies, music, and home videos can be stored in one place and streamed to any TV, tablet, or computer in the house. It becomes a private, self-hosted version of Netflix or Spotify, built around their own collection. This isn't just a technical exercise; it's about building a practical, long-term solution for managing your digital world.
Choosing the Right Hardware for Your Pi NAS Build
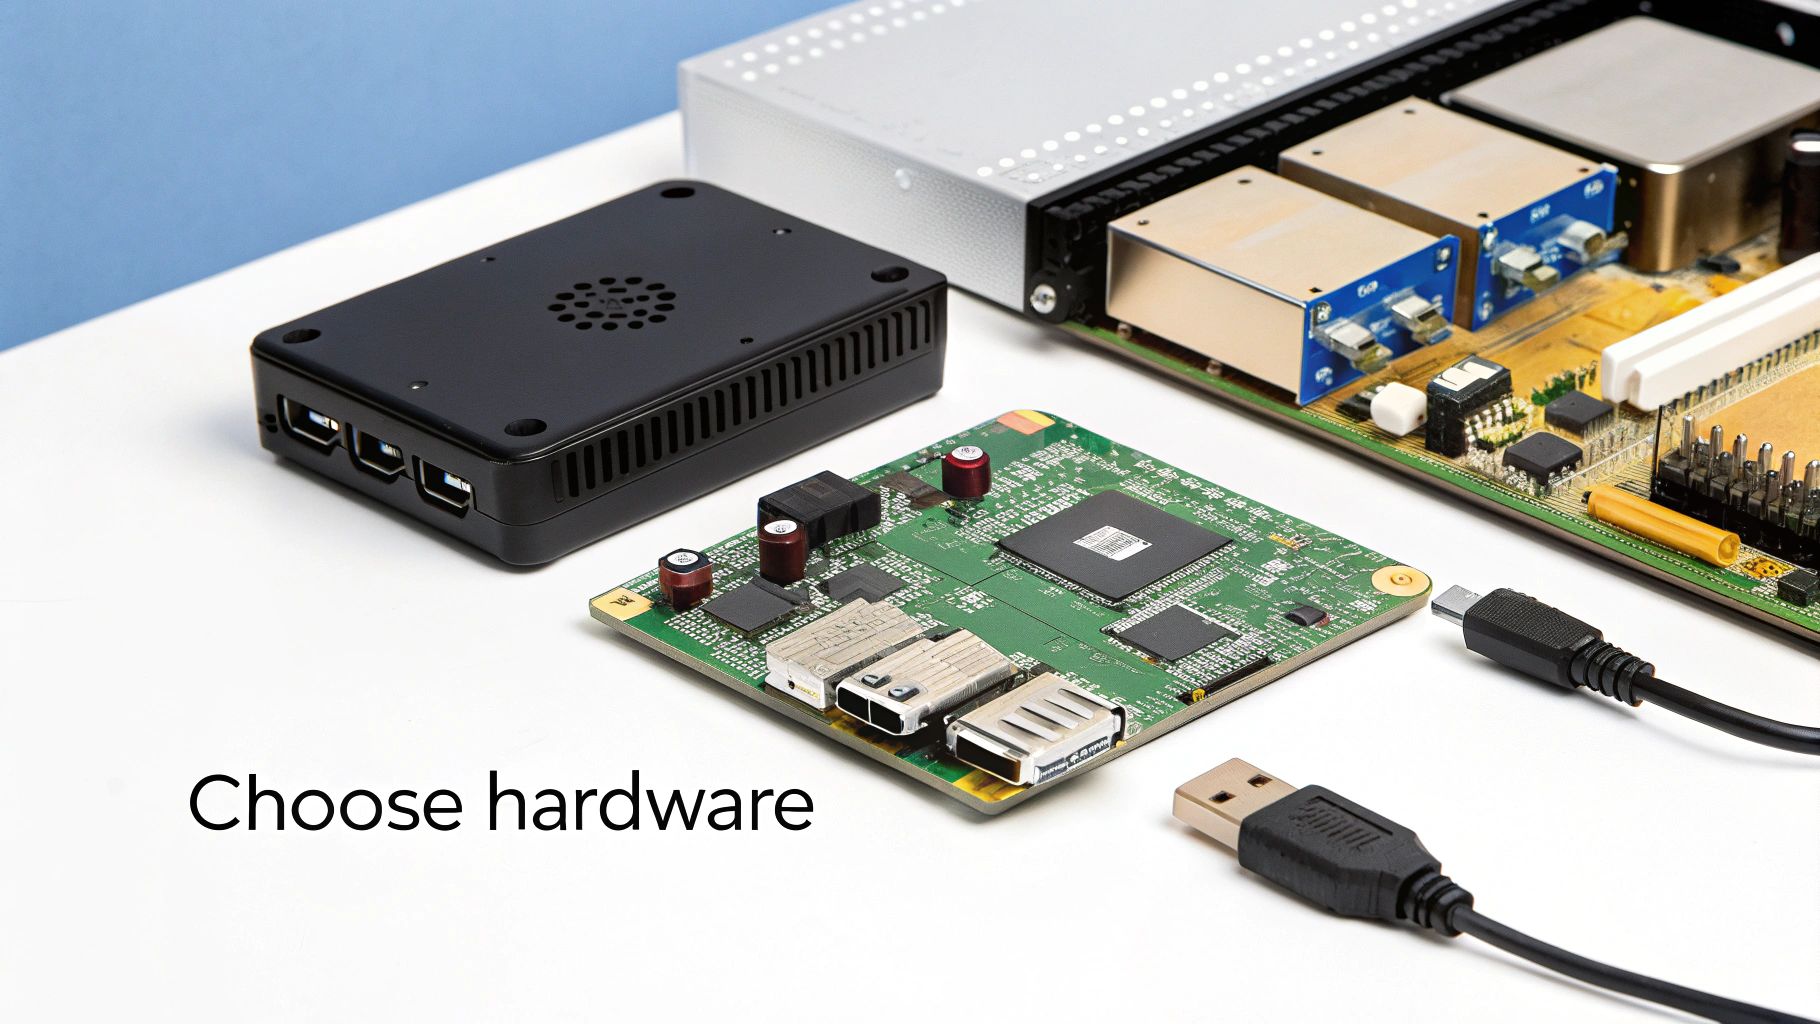
Getting your hardware right from the start is the foundation of a solid Raspberry Pi for NAS build. This isn't just about grabbing any Pi and a hard drive; it's about making deliberate choices that match what you actually want to do, whether that's a simple backup server or a full-blown media hub. Think of it as putting together a shopping list where every single item affects the speed and stability of your personal cloud.
Your hardware choices will directly impact everything from file transfer speeds to how much you can store and how snappy the whole system feels. A little thought now will help you build something that’s both cost-effective and perfectly tuned to your needs.
Selecting the Right Raspberry Pi Model
The heart of your NAS is, of course, the Raspberry Pi itself. While older models might technically work, you’ll want to choose between the Raspberry Pi 4 Model B and the newer Raspberry Pi 5. Both are more than capable, but they serve slightly different masters.
The Raspberry Pi 4 is the reliable workhorse and a fantastic starting point. It’s got everything you need for a high-performing home NAS: options for 2GB, 4GB, or 8GB of RAM, Gigabit Ethernet, and two USB 3.0 ports. For most people, a 4GB model is the sweet spot. It provides plenty of memory for serving files and even some light media streaming without costing a fortune.
On the other hand, the Raspberry Pi 5 brings more to the table with a faster processor, quicker RAM, and a more capable I/O controller. This extra grunt is a real benefit if you plan on running demanding apps alongside your NAS software—like a Plex server that has to index a lot of media—or if you simply want the fastest file transfer speeds you can get.
Key Takeaway: For most people building their first Raspberry Pi NAS for basic file storage and backups, the Raspberry Pi 4 offers the best bang for your buck. But if you’re a power user who plans to run multiple services or just craves maximum speed, the Raspberry Pi 5 is a worthwhile upgrade.
Connecting Your Storage Drives
Once you've picked your Pi, the next big decision is how you'll connect your storage drives. You’ve got two main options here: simple USB enclosures or a dedicated SATA HAT (Hardware Attached on Top).
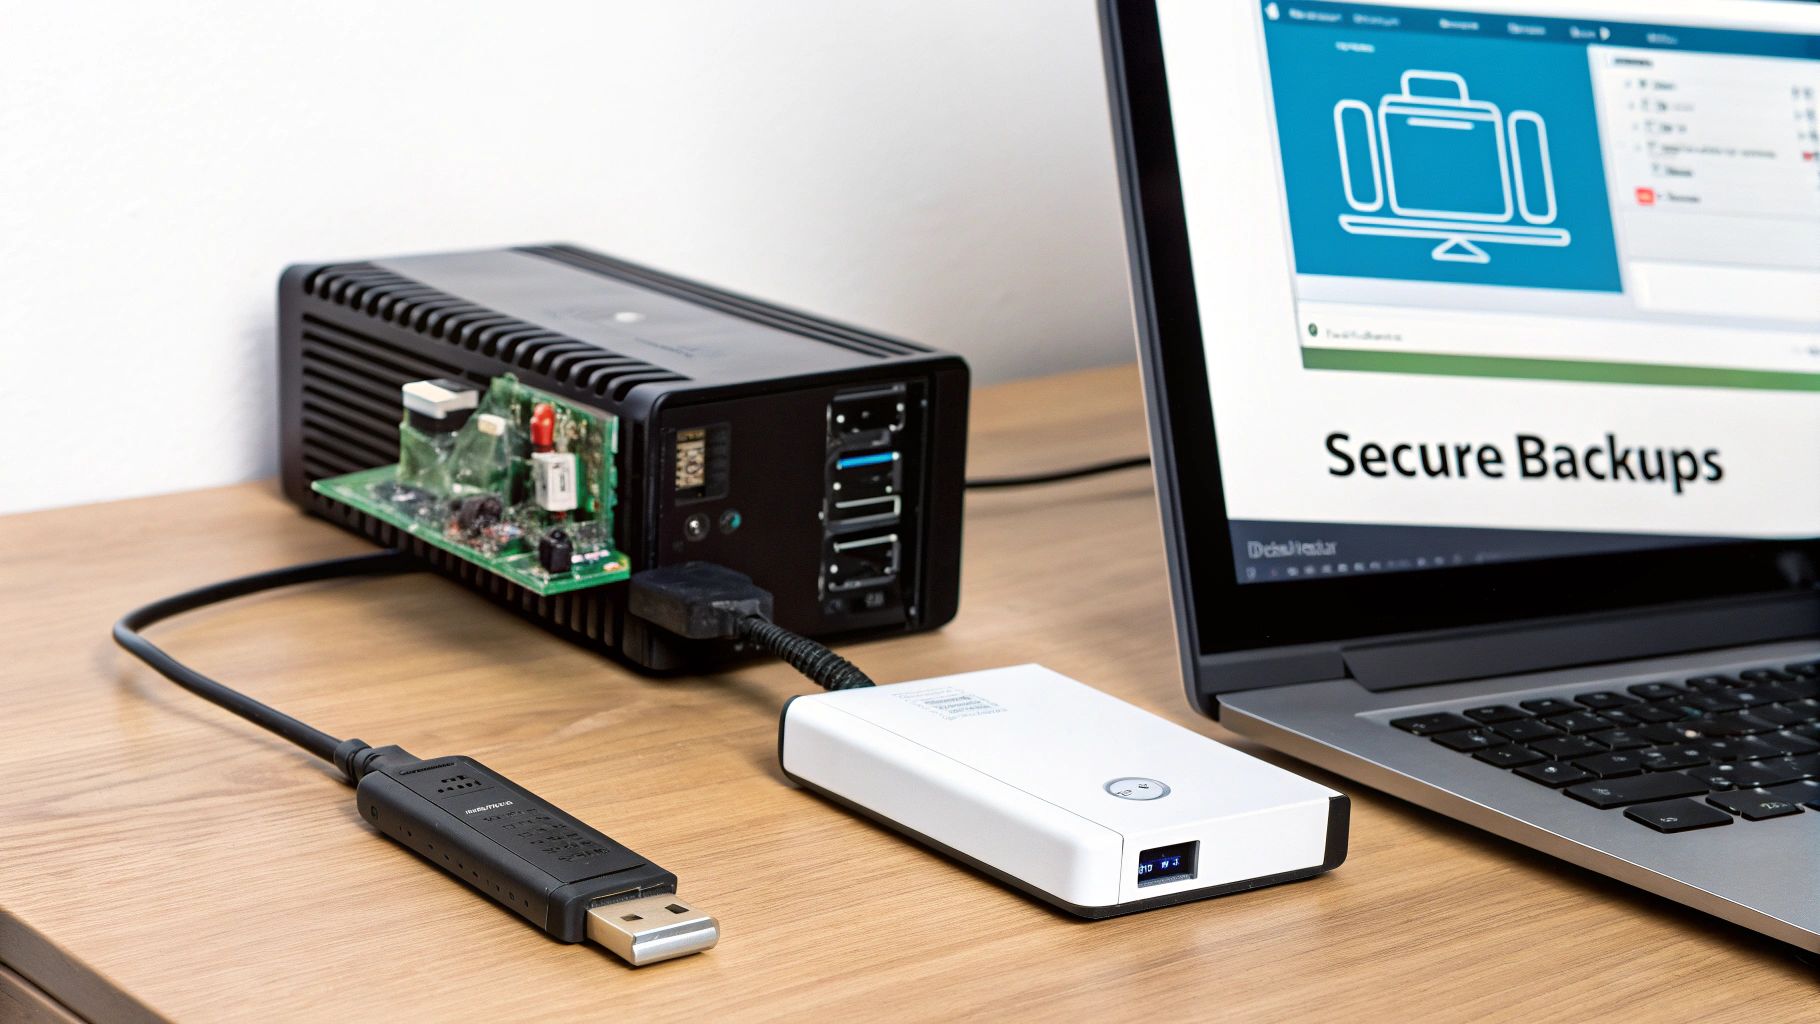
- USB Enclosures or Docks: This is the most direct route. You can buy external USB 3.0 enclosures for 3.5" HDDs or 2.5" SSDs and plug them straight into the Pi's blue USB 3.0 ports for fast transfers. It's a good idea to use a powered USB hub to make sure your drives get stable, consistent power.
- SATA HATs: For a tidier and more integrated setup, a SATA HAT is the way to go. These boards sit on the Pi's GPIO pins and give you native SATA ports, letting you connect internal HDDs or SSDs directly. This approach often looks cleaner and can sometimes offer more stable performance by bypassing the USB bus altogether.
This trend of building tiny, powerful home servers is exploding. In the Netherlands, the data centre storage market is forecast to hit USD 2.46 billion by 2030, which shows just how much demand there is for data storage. A Raspberry Pi for NAS project makes this tech accessible to everyone. Communities have reported over 25,000 downloads of NAS distributions in the Netherlands in 2024 alone. A DIY build will set you back about €300—a fraction of a €2000 enterprise mini-NAS—and it uses up to 90% less power, which fits perfectly with the country's green initiatives. You can read more in this in-depth analysis of the Netherlands' data storage market.
Power Supply and Cooling Considerations
Finally, let's talk about two components people often overlook but are critical for long-term stability: the power supply and cooling. A NAS runs 24/7, so cutting corners here is a recipe for disaster.
A weak or inadequate power supply is the number one cause of data corruption and random crashes in Raspberry Pi projects. You absolutely need an official Raspberry Pi power supply or a high-quality alternative that can deliver consistent voltage, especially when your hard drives spin up and draw a sudden burst of power.
Likewise, a Pi running around the clock is going to get warm. An effective cooling solution is essential to prevent the chip from thermal throttling, which slows everything down. Whether it’s a simple heatsink, a small fan, or a case with integrated cooling, this will ensure your NAS runs smoothly for years to come. Of course, none of this matters without a solid network connection; if you're sorting out your home setup, our guide on the difference between a modem and a router in your home setup might come in handy.
Selecting and Installing Your NAS Software
With all your hardware ready to go, it's time to choose the software that will turn that pile of components into a fully functional Raspberry Pi for NAS. This is the brain of the operation—the operating system that manages your files, shares them across your network, and gives you the interface you'll interact with. The best choice really boils down to how hands-on you want to be and what you need your NAS to do.
We'll walk through three excellent paths you can take. Each one strikes a different balance between ease of use, raw flexibility, and features, so you're sure to find a perfect fit for your project.
OpenMediaVault: The User-Friendly Powerhouse
For most people, especially if this is your first time building a NAS, my top recommendation is OpenMediaVault (OMV). It's not even a close call. OMV is a dedicated NAS operating system built on Debian Linux, and its main selling point is that it's designed to be managed entirely through a clean web interface. That means you can get everything done without ever touching the command line.
Once you’ve got OMV installed, you can handle pretty much everything from your web browser:
- Disk Management: Easily format, mount, and check the health of your connected HDDs or SSDs.
- User Permissions: Create different user accounts and control exactly who can see or edit certain folders—perfect for a family or a small office.
- Network Shares: Set up standard SMB/CIFS shares that pop up on Windows and macOS devices automatically, or use NFS shares for other Linux machines on your network.
- Plugin System: This is where OMV really shines. You can add new features with one-click plugins for media servers like Plex or Jellyfin, backup tools, and even Docker for running almost any app you can think of.
The real beauty of OMV is how it hides all the messy, complicated stuff. It handles the tricky configurations in the background, letting you focus on just organising your files. You end up with a robust, professional-feeling NAS on a tiny, low-power device.
Raspberry Pi OS with Samba: The DIY Approach
If you're someone who likes to get your hands dirty or you plan on using your Raspberry Pi for other things at the same time, then setting up a NAS directly on Raspberry Pi OS is a fantastic option. This route involves installing and configuring the file-sharing software yourself. The key piece of software here is Samba, which is what allows your Pi to talk the same language as Windows network shares.
This path definitely requires a bit more comfort with the command line, but it gives you total flexibility. Your NAS can just be one of many services running in the background while you also use the Pi as a mini-desktop, a coding environment, or a home automation server. The setup involves installing the Samba package, editing a text-based configuration file to define your shared folders (or "shares"), and setting up users.
While it takes more effort up front, the DIY method with Samba teaches you a huge amount about how network file sharing actually works. It’s a rewarding experience that puts you in complete control of every single setting.
The rise of personal data management is fuelling some serious market trends. In the Netherlands, the data centre storage market—which leans heavily on NAS technology—was valued at €1.65 billion in 2025 and is set for major growth. This is partly driven by people and small businesses adopting cost-effective solutions just like a Raspberry Pi for NAS. For lifelong learners, building a Pi NAS is a practical way to manage huge media libraries or course files, with modern Pi models handling terabytes of data for under €200. You can find more insights on the Dutch data centre storage market on marketreportanalytics.com.
Nextcloud: The Private Cloud Solution
What if you want more than just a place to dump files? If your goal is to build your very own, self-hosted version of Google Drive or Dropbox, then Nextcloud is what you're looking for. Nextcloud transforms your Raspberry Pi into a complete private cloud server, giving you file syncing, calendars, contacts, and even collaborative tools for editing documents.
With Nextcloud, you can install apps on your desktop and phone that automatically sync files across all your devices, just like the big commercial cloud services do. It's an incredibly powerful way to take back control of your own data.
Be warned, though: running the full Nextcloud suite is much more demanding on a Raspberry Pi than a simple Samba share. It's best suited for a Raspberry Pi 4 with at least 4GB of RAM, or the even more powerful Raspberry Pi 5. You can install Nextcloud on top of Raspberry Pi OS using tools like Docker or Snapcraft, which make the process much simpler. Before you get started, it's a good idea to understand the differences between file systems like NTFS and exFAT for external drives to make sure you're formatting your storage the right way.
Getting Your Raspberry Pi NAS Configured: A Practical Guide
Alright, your hardware is all hooked up, and you’ve got your OS of choice installed. Now for the fun part: turning that pile of components into a living, breathing Raspberry Pi for NAS.
This is the moment we go from a simple computer with a hard drive to a proper, centralised file server for your home. We’ll be using OpenMediaVault (OMV) as our main example here. It strikes a fantastic balance between power and simplicity, making it the perfect starting point for most people.
When you first log in to the OMV web interface, you’re looking at your control panel. From here, it's all about methodically building up your storage, layer by layer—from the physical disks all the way to the shared folders your devices will see on the network.
Prepping the Storage Drives
First things first, you need to tell OMV what to do with those shiny new drives. Before you can even think about storing files, the system has to recognise, format, and mount your HDDs or SSDs.
Head over to the Storage > Disks section in the OMV interface. You should see everything connected to your Pi, including its own SD card and, crucially, your new NAS drives.
The very first action for any new data drive is to "Wipe" it. This is non-negotiable. It clears out any old formatting or partitions, giving you a completely clean slate to work from.
Once that's done, pop over to the Storage > File Systems menu. Here, you'll create the file system itself. For a Raspberry Pi for NAS, you can't go wrong with EXT4. It's the standard for Linux and is rock-solid reliable.
With the drive formatted, the last step is to mount it. Think of mounting like assigning a drive letter in Windows. It makes the drive's capacity officially available to the operating system. Without this, the drive is physically connected but completely invisible to the software.
Carving Out Your Shared Folders
With your drives mounted and ready for action, it’s time to create the directories where your data will actually live. You’ll find this under the Storage > Shared Folders tab.
The trick here is to be organised from the start. Resist the urge to dump everything into one massive folder. Instead, create specific shares for different types of data.
Why? It makes everything tidier, sure, but the real win is how much easier it makes managing permissions down the line. A typical, sensible setup might look something like this:
- Media: For all your films, music, and TV shows.
- Documents: A place for important work or personal files.
- Backups: A dedicated spot for backups from your family's computers.
- Photos: One central library for all your pictures.
Here's a pro tip I learned the hard way: always use simple, descriptive names for your shares. No spaces, no special characters. Go with "FamilyPhotos" instead of "Family Photos!!". This one simple habit will save you a world of pain when you start connecting different devices and operating systems.
The software stack we're building is pretty straightforward. OMV acts as the foundation, with services like Samba (for Windows/Mac sharing) and Nextcloud (for private cloud features) building on top of it.
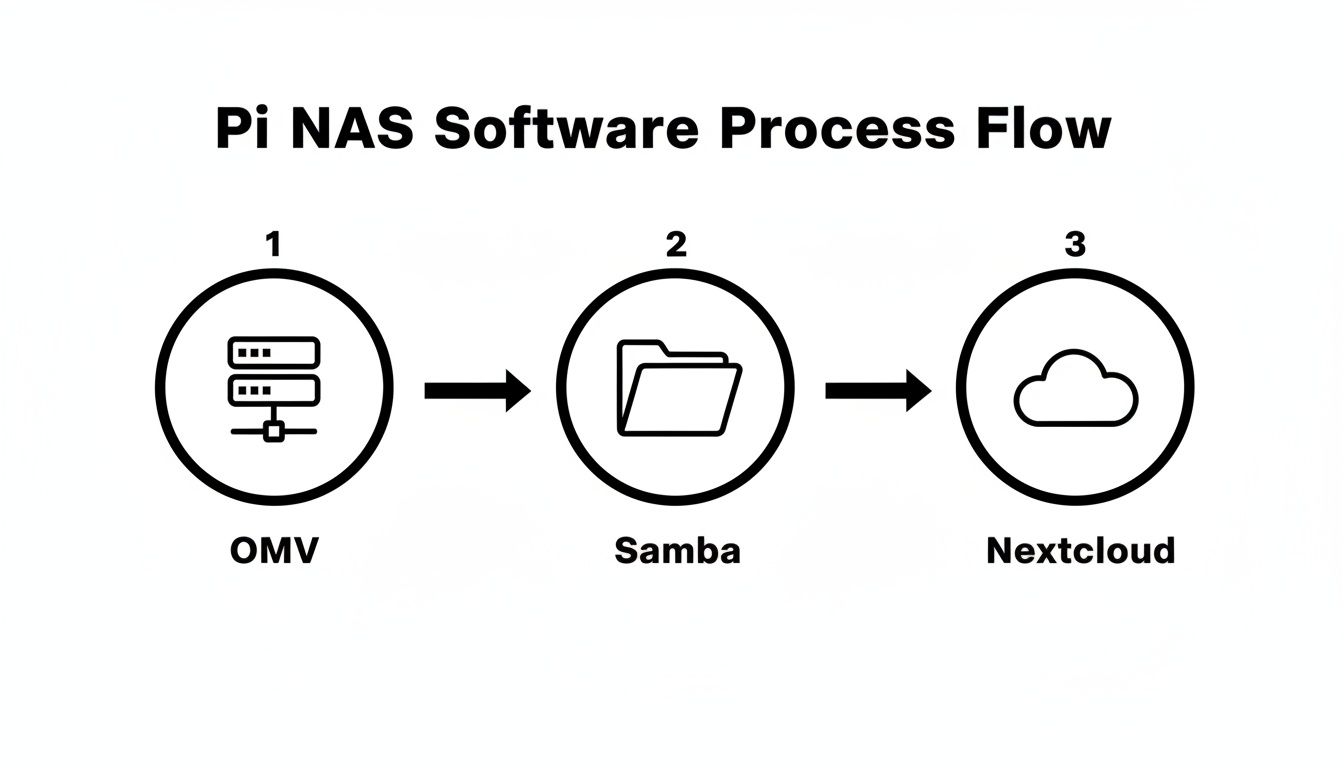
This flow shows how OMV is really the brains of the operation, managing the storage while other protocols handle the job of actually sharing the files.
Setting Up Users and Permissions
A NAS with no access control is just a public folder. The real power comes from managing who can see and do what. Head to the Users > Users section to create individual accounts for everyone who'll be using the server.
With your user accounts created, you can now assign specific rights to each shared folder. Just click on a folder in the Shared Folders menu and hit Privileges.
This is where you grant Read/Write or Read-only access. For example, you might give everyone in the family full read/write access to the "Media" share but lock down your "Documents" folder so only you can get in. This granular control is what separates a basic external hard drive from a true NAS.
Flipping the Switch on Network Sharing
We're at the final piece of the puzzle: making your folders visible to other computers on your network. This all happens under the Services tab.
There are two main protocols you'll want to enable:
- SMB/CIFS: This is the big one. It's the native file-sharing language spoken by Windows and macOS. As soon as you enable the SMB service and add your shared folders to it, they’ll pop up automatically in File Explorer or Finder. It’s that easy.
- NFS (Network File System): This is the go-to protocol for Linux systems. If you have other Linux machines or even another Raspberry Pi on your network, enabling NFS is the most efficient way for them to talk to your new NAS.
Once these services are up and running, give yourself a pat on the back. Your Raspberry Pi has officially graduated from a hobby board to a fully functional, centralised storage server, ready to protect and serve data across your entire home.
Securing and Backing Up Your Raspberry Pi NAS
Getting your Raspberry Pi for NAS up and running is a fantastic first step, but the job is far from over. The real victory comes from knowing your data is truly safe. Building the server is the fun part; making sure your files are secure from threats and protected against loss is what really matters. This means tackling two critical fronts: hardening your device against unwanted access and creating a backup plan you can actually rely on.
Your data's integrity should be non-negotiable. A few smart moves now can save you from a world of trouble later. If you skip this part, your personal cloud quickly becomes a personal liability.
Essential Security Habits
You don't need a degree in cybersecurity to lock down your Raspberry Pi NAS. It’s all about building simple, effective habits that shut down the most common risks. Think of these as the deadbolts and window locks for your digital home.
First things first: change every single default password. I mean it. From the Pi’s main user account to the OpenMediaVault web login, change them immediately after installation. This one tiny action stops the vast majority of automated, opportunistic attacks dead in their tracks.
Next, it's time to minimise your NAS's "attack surface". If you only plan on using SMB for file sharing, why leave SSH or FTP running? Every active service is another potential door for someone to knock on. Go through and disable anything you don't absolutely need.
For an added layer of defence against brute-force password guessing, get a tool like fail2ban installed. It keeps an eye on login attempts and will automatically ban any IP address that looks suspicious. Once your system is operational, applying solid network security best practices is essential to keep everything protected.
Secure Remote Access with a VPN
I get it—the appeal of accessing your files from anywhere is huge. But please, resist the temptation to just open up ports on your router to expose your NAS to the internet. That's a massive security hole waiting to be exploited. A far, far safer approach is to set up your own Virtual Private Network (VPN) server on the Pi using software like WireGuard or OpenVPN.
A VPN creates a secure, encrypted tunnel from your laptop or phone straight into your home network. It’s like having a secret passage that lets you access your files from a coffee shop in another country as if you were sitting on your own sofa. All this, without ever exposing your NAS to the dangers of the open internet.
Key Takeaway: Never, ever use port forwarding to give direct internet access to your NAS dashboard or file shares. A VPN is the only sane way to handle remote access. It's what the pros do for a reason.
Why RAID is Not a Backup
This is a point that trips up so many people, so let’s be crystal clear: RAID is for uptime, not for backups. A Redundant Array of Independent Disks (RAID) is a brilliant technology designed to keep your NAS online even if a hard drive dies. It offers fault tolerance, which is great, but it does absolutely nothing to protect you from the most common forms of data loss:
- Accidental deletion: You delete a crucial file by mistake? RAID will obediently delete it from all the drives.
- Malware or ransomware: If your files get encrypted by an attacker, RAID will meticulously replicate that encrypted, useless data across your disks.
- Theft or physical damage: If someone steals your NAS or it's destroyed in a fire, your RAID setup is gone with it.
You absolutely need a completely separate backup strategy to be truly safe.
Practical Backup Strategies
A good backup plan lives by the 3-2-1 rule: keep at least three copies of your data, store them on two different types of media, and have at least one copy located off-site.
- Local Backups with
rsync: The easiest place to start is with a local backup. Plug an external USB drive into your Pi and set up a scheduled task usingrsync. This little command-line workhorse is perfect for synchronising folders because it only copies files that have changed, making the process fast and efficient. Most NAS software like OMV has plugins that give you a nice graphical interface forrsync, so you can easily schedule nightly or weekly backups. - Off-Site Cloud Backups: For the ultimate peace of mind, your most important files need to live somewhere else entirely. This is where off-site backups come in. You can use a cloud storage service like Backblaze B2, Wasabi, or even sync to Google Drive or Dropbox. You can set up your Pi to automatically encrypt your critical folders and upload them, ensuring that even if a disaster takes out your whole home, your data is still safe.
Your Top Questions About Building a Pi NAS
Jumping into a Raspberry Pi NAS project is exciting, but it's totally normal to have a few questions floating around. It's a brilliant little bit of kit, but you want to be sure it's the right fit before you commit. Let's tackle some of the most common queries I hear, giving you the straightforward answers you need.
A lot of people look at this tiny computer and wonder if it can really be trusted to look after their important files 24/7. Let's clear the air on that.
Is a Raspberry Pi Really Powerful Enough to Run a NAS?
In short, absolutely. Especially if you’re looking at a Raspberry Pi 4 or the newer Pi 5. These models pack multi-core processors, a decent amount of RAM, proper Gigabit Ethernet, and speedy USB 3.0 ports. All of that adds up to a machine that's more than capable of handling a home NAS.
For the day-to-day stuff—storing documents, managing your family photo library, or streaming HD films to a device or two—a Pi-based NAS works like a charm. It can easily hit speeds that fill up a standard 1-gigabit home network connection. In many cases, the bottleneck isn't the Pi; it's your Wi-Fi or the speed of the drives themselves.
You'll only start to see it sweat under really heavy loads, like trying to transcode multiple 4K video streams at the same time or serving files to a whole office full of people. But for the vast majority of us at home, it's got plenty of power.
What Are The Real-World Performance Limits?
Okay, so where does it hit a wall? The main performance ceilings are its I/O (Input/Output) throughput and how much the CPU can handle when things get processor-intensive. While the Pi's Gigabit Ethernet port can theoretically push around 110-115 MB/s, it's crucial to remember that all your USB drives share bandwidth from a single controller.
Think of it like a single motorway lane trying to handle traffic merging from several busy slip roads at once. If you're hammering multiple drives with heavy read and write tasks simultaneously, you might not see the top speed from each individual drive. During rush hour, things can get a bit congested.
Similarly, tasks like real-time 4K video transcoding for media servers like Plex can really push the CPU to its limits. For simply serving files, running personal backups, and streaming original-quality media, you'll rarely even notice these limitations in daily use.
If your plan involves editing high-resolution video directly off the network or running a bunch of virtual machines, you'd be better served by a more powerful, traditional x86-based system.
Can I Use My Pi NAS as a Media Server?
Yes, you absolutely can. In fact, this is one of the most popular reasons people build one in the first place. You can install brilliant media server software like Plex, Jellyfin, or Emby—often available as simple plug-ins within your NAS operating system.
This software will scan and automatically organise your entire library of films, TV programmes, and music, wrapping it all up in a beautiful, easy-to-use interface. From there, you can stream your media to pretty much any device on your network: smart TVs, laptops, tablets, and phones.
A Raspberry Pi 4 or 5 can handle direct streaming of high-bitrate 4K files without breaking a sweat. As I mentioned, it might struggle with transcoding 4K content on the fly, but for direct playback, it's a fantastic, low-power hub for your entire media collection.
How Much Does It Really Cost To Build And Run One?
The initial build cost usually lands somewhere between €150 and €500+. The biggest factor here is, without a doubt, the storage drives you choose. The core bits—the Raspberry Pi itself, a decent case, a reliable power supply, and an SD card—will probably set you back around €100-€125.
The real money goes into the hard disk drives (HDDs) or solid-state drives (SSDs). For example, grabbing a pair of reliable 4TB HDDs for a mirrored setup could easily add another €200-€250 to your total.
Where the Pi truly shines, though, is in the running costs. A Raspberry Pi NAS sips power, typically using just 5-15 watts. That's a tiny fraction of what a commercial NAS (30-60W) or an old desktop PC (100W+) would draw. Here in the Netherlands, where energy prices are always a concern, this efficiency translates into real, noticeable savings on your yearly electricity bill, making it an incredibly cheap server to run 24/7.
At People & Media B.V., we believe in the power of hands-on learning to build practical skills and foster digital independence. Explore our platform for more projects and courses that connect curiosity with capability. Keep learning with us at https://www.peopleandmedia.com.

Responses