Monitor with Laptop: A Quick Guide to Connecting and Optimizing Your Display
Hooking up an external monitor to your laptop is one of those simple upgrades that completely changes how you work. It’s not complicated—it really just boils down to finding the right port on your laptop, whether it's an HDMI or USB-C, and grabbing the corresponding cable to link it to your monitor. That one small step instantly blows up your screen real estate, making multitasking and detailed work feel less like a chore.
Why You Should Connect a Monitor to Your Laptop
Expanding your digital workspace from a single, cramped laptop screen to a dual-display setup is probably the biggest productivity boost you can give yourself. It's not just about having more space to see things; it's about fundamentally working smarter.
The most obvious win is being able to visually separate your tasks. Think about it: you can have your research material open on one screen while you're writing on the other. No more endless alt-tabbing between windows. It just works.
This kind of setup is a game-changer for professionals and students who are constantly juggling multiple apps. Imagine analysing a massive spreadsheet on a big monitor while your video call runs smoothly on the laptop screen beside it. This separation cuts down on mental clutter and helps you stay locked in.
The Real-World Impact
But the benefits go way beyond just workflow. A proper external monitor setup is a huge win for your posture and comfort. It lets you place the main screen right at eye level, which does wonders for reducing neck and back strain from hunching over a laptop all day. Plus, you'll almost always get a much better viewing experience with superior colour accuracy and higher resolutions—essential if you're doing any kind of creative work like photo editing or graphic design.
With hybrid work becoming the norm, this setup is more relevant than ever. Here in the Netherlands, a major hub in Europe's tech scene, the computer monitor market is growing right alongside the laptop sector. Full HD monitors still hold a massive 45.12% market share in Europe, making them a solid, affordable choice for most Dutch professionals. At the same time, the 4K UHD market is pushing forward at a 4.55% annual growth rate, catering to creatives who need every last pixel of detail. You can dig deeper into these trends over on Mordor Intelligence.
The goal isn't just to add another screen. It's to build an intentional workspace that encourages deep focus, better posture, and a more organised digital life.
Ultimately, connecting a monitor is about reclaiming your comfort and taking control of your workflow. And with modern connections like USB-C, a single cable can often handle video, data, and even power. If you're looking to keep your gear topped up while on the move, be sure to check out our guide on the best power banks for laptops with USB-C.
Choosing the Right Ports and Cables
Figuring out how to connect a new monitor to your laptop can feel a bit like a puzzle at first, but it's much simpler than it looks. The whole game is just matching a video out port on your laptop to a video in port on your monitor. Modern gear makes this pretty painless, but it helps to know the main players.
Your laptop will almost certainly have one of three ports: HDMI, DisplayPort, or USB-C. HDMI is the universal connector you’ll find on everything from laptops to TVs, making it a super reliable, everyday choice. DisplayPort, on the other hand, is a favourite among gamers and creative pros because it can handle higher resolutions and faster refresh rates.
The Rise of USB-C
Then there's USB-C, the do-it-all port that's taken over modern tech. With the right cable, especially one that supports Thunderbolt, you can send video, transfer data, and even power your laptop all at once. This means you can hook up your monitor, charge your laptop, and connect other gadgets with a single, tidy cable. It's the new gold standard for a clean, minimalist desk setup.
Getting started is as simple as figuring out what you're working with.
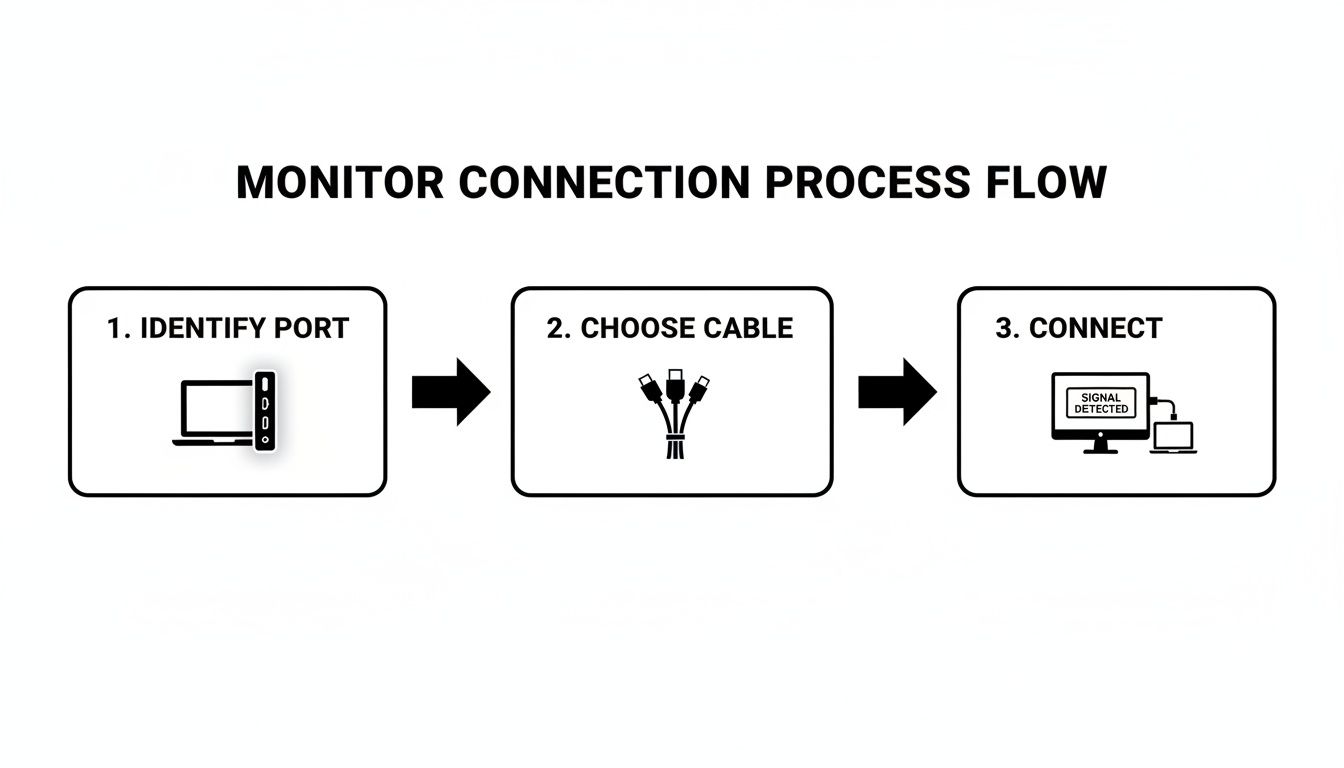
This little guide breaks it down perfectly: just identify the port on your laptop, grab the right cable, and plug it all in.
What if the Ports Don't Match? Use an Adapter
So, what happens if your brand-new laptop only has USB-C ports, but your trusty old monitor is HDMI-only? Don't sweat it. This is a super common problem, and the solution is a simple adapter. A small USB-C to HDMI dongle or a multi-port hub will easily bridge that gap, letting different generations of tech play nicely together.
This need for flexible setups is only growing. The Europe Laptop Market, which covers the NL region, is expected to jump from USD 41.11 billion in 2025 to USD 52.00 billion by 2033. That growth is fuelled by professionals who rely on their laptops for everything, making an external display a non-negotiable tool for productivity.
Pro Tip: When you're buying a cable, don't just grab the cheapest one. Check the specs. If you have a high-resolution 4K monitor or a speedy gaming display, you need a cable that can handle all that data. An older cable might technically work, but it could bottleneck your monitor's performance.
If you're pairing your machine with a premium screen, it's worth checking out your options to ensure you get compatible ports right out of the box. For instance, you can discover the best alternative Apple Studio Display options for 2025 to see what's out there. A few minutes spent identifying your ports and picking the right connector will save you a lot of headaches and guarantee you get the crisp, clear picture you paid for.
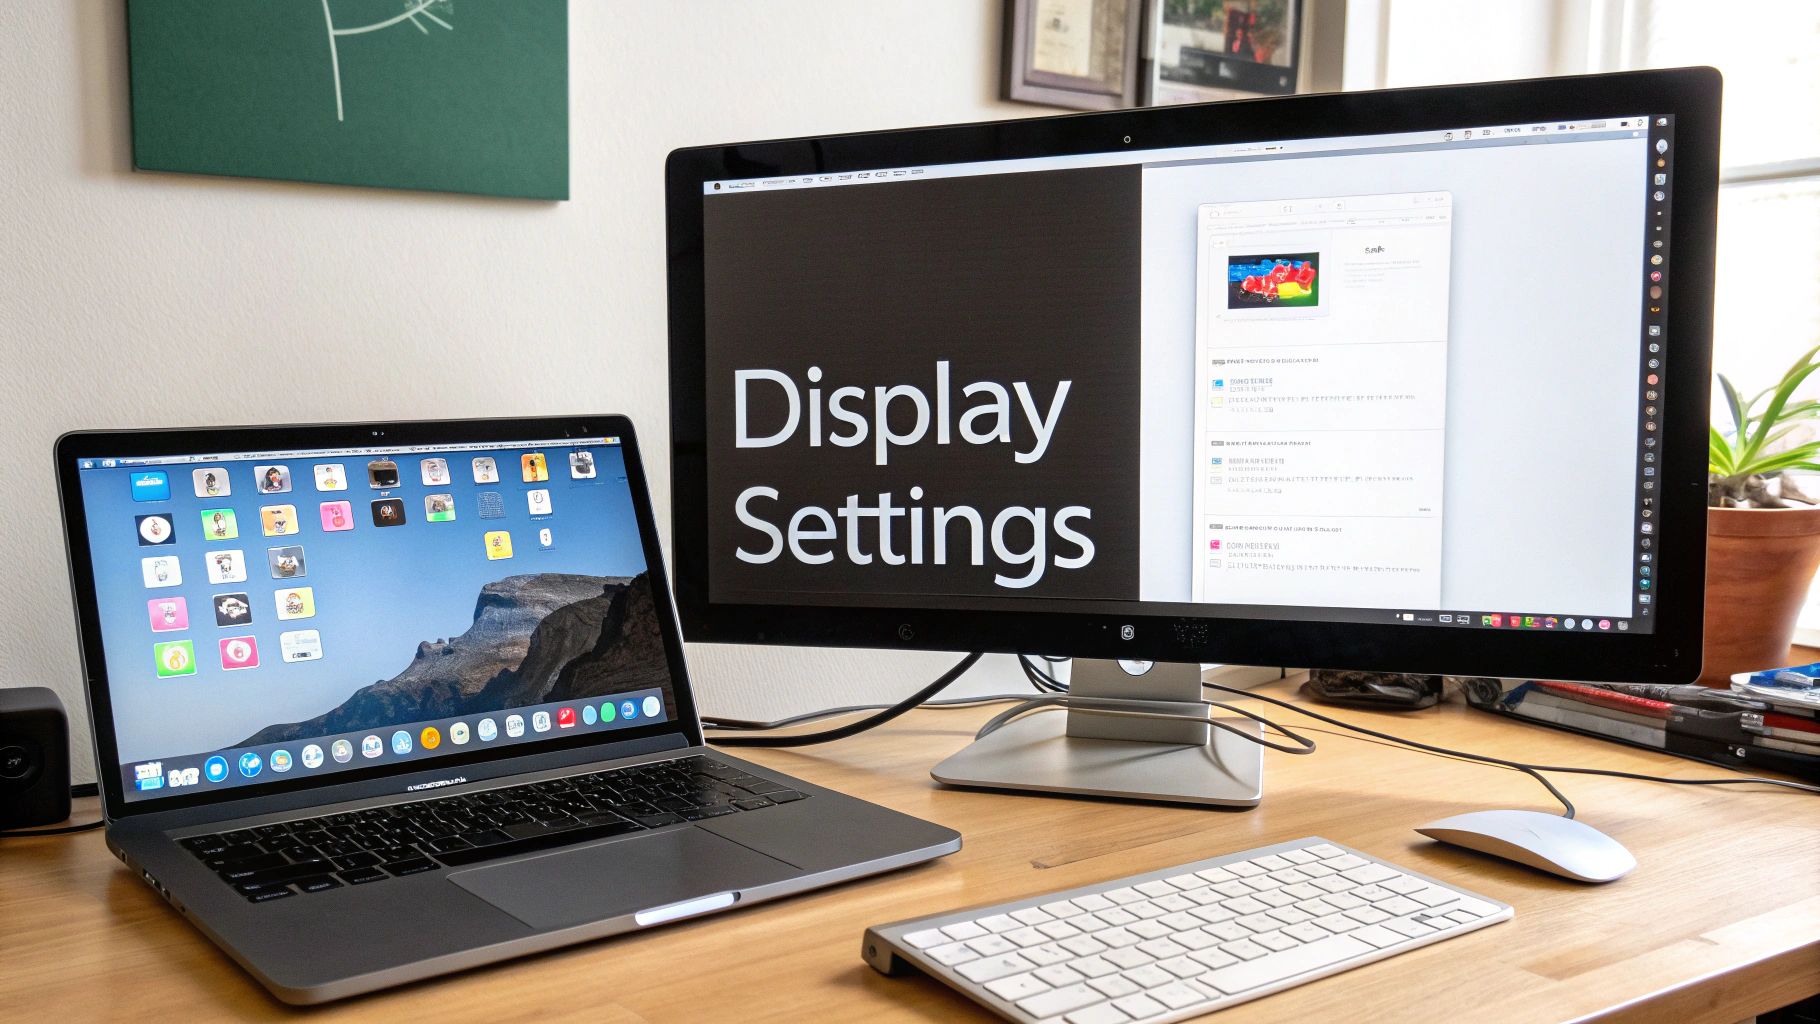
Configuring Your Display in Windows and macOS
Once your monitor is physically plugged in, the next job is to tell your laptop how to actually use that extra screen real estate. This is the crucial step that turns a simple connection into a genuinely powerful dual-screen setup. Thankfully, both Windows and macOS have made this process pretty straightforward.
Your main decision boils down to two choices: mirroring your display or extending it.
Mirroring, sometimes called 'Duplicate' mode, does exactly what it sounds like—it shows the same image on both screens. This is great for presentations where you want your audience to see what's on your laptop. But for day-to-day productivity, 'Extend' mode is the real game-changer. It creates one large, seamless desktop that spans across your laptop and the external monitor, letting you drag windows and applications from one to the other.
This is the secret to effective multitasking. You could keep your email and Slack open on your laptop screen while your main project—be it a report, a spreadsheet, or a design file—gets the full attention of the larger monitor.
Fine-Tuning Your Settings in Windows
On a Windows machine, the quickest way to get to the display settings is usually by right-clicking anywhere on your desktop and choosing Display settings. This opens up the control panel where all the magic happens.
You'll immediately see a diagram of your screens, which you can drag and drop to match their physical layout on your desk. This is more important than it sounds; getting this right means your mouse will move naturally from one screen to the other.
Here are the key options you'll want to adjust:
- Multiple displays: This is the dropdown where you’ll pick between 'Duplicate these displays' and 'Extend these displays'.
- Display resolution: For the sharpest, clearest image, you should always set this to the value marked as 'Recommended'. This matches your monitor's native resolution.
- Display orientation: This is a neat feature if you’ve mounted a monitor vertically—a popular choice for coders or anyone who works with long documents.
If you're ever unsure which screen is which, the 'Identify' button is your best friend. It flashes a large number on each display so you can get your bearings. After you’re connected, learning how to extend monitors correctly within your operating system is the single most important step for improving your workflow.
Customising Your Display on macOS
For Mac users, the process is just as intuitive. Just open up System Settings and head over to the Displays section. You'll be greeted by a similar interface where you can configure your external monitor. macOS is smart enough to default to 'Extend' mode, which is almost always what you’re after.
A key trick in macOS is dragging the small white menu bar from one display to the other inside the Arrangement tab. This tells your Mac which screen you want as your primary monitor—the one where new app windows and notifications will pop up first.
Just like in Windows, you can tweak the resolution and refresh rate. On Apple's high-resolution Retina displays, you won't see raw numbers but rather scaling options like 'Larger Text' or 'More Space'. Selecting 'More Space' can make your desktop feel absolutely massive, giving you an incredible amount of room to work.
These settings are handled especially well on powerful machines, like the newer models running on Apple Silicon. To understand more about what makes them so capable, you can read our deep dive into the power of Mac computers with Apple Silicon. Getting these settings dialled in ensures your monitor and laptop setup isn't just connected, but perfectly optimised for your eyes and your work.
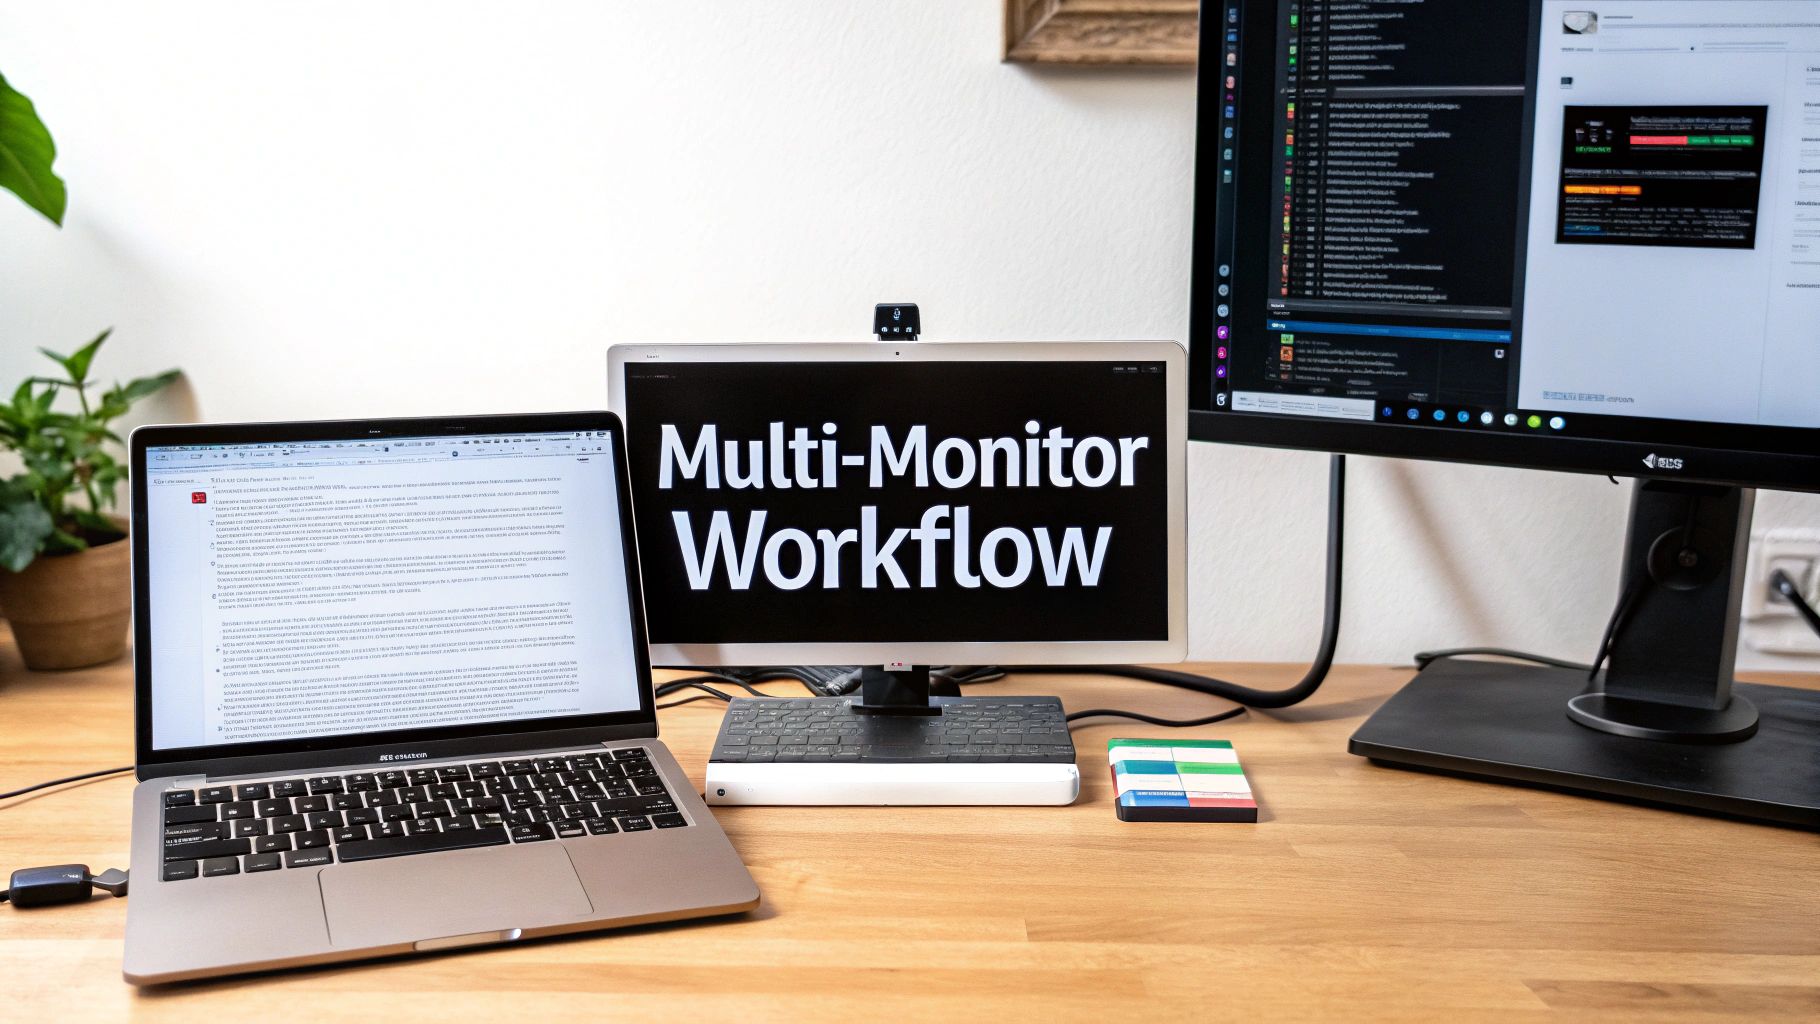
Mastering Your Multi-Monitor Workflow
So, you’ve plugged in another screen. That's the easy part. The real magic happens when you start organising that expanded digital real estate. This is where you graduate from simply having an extra display to strategically using your monitor and laptop in tandem. A well-planned workflow can genuinely turn your desk into a command centre for focused, efficient work.
First things first: arrange your displays to match how you actually think and work. A great starting point is to place your main, larger monitor directly in front of you, right at eye level, and shift your laptop off to one side. This simple physical arrangement encourages better posture and dedicates the prime real estate to your most important task, whether that’s hammering out code, designing a graphic, or digging into a spreadsheet.
Smart Task Allocation
One of the most effective strategies I’ve seen is assigning specific jobs to each screen. When you create a predictable, organised digital environment, you instinctively know where to look for certain information, which cuts down on mental clutter.
- Primary Monitor: This should be your deep-work zone. It's where your main application lives—your code editor, your design software, or your primary research window. Keep it sacred.
- Laptop Screen: Dedicate this smaller screen to communication and secondary tasks. Think Slack, Microsoft Teams, and your email client. This lets you glance at notifications without completely derailing your focus.
This approach effectively compartmentalises your attention. You're not constantly switching between unrelated tasks on the same screen, which can be a massive drain on productivity.
Think of it as creating digital zones. Your large monitor is the quiet library for deep concentration, while your laptop screen is the bustling café for quick check-ins and chats.
Another popular setup, especially for programmers and writers, is to flip one monitor into a vertical orientation. A vertical screen is absolutely perfect for viewing long feeds of code, lengthy documents, or social media timelines without endless scrolling.
Streamlining Connections With Hubs and Docks
As your setup grows, you'll quickly realise that cables can become a nightmare. This is where docking stations and USB-C hubs really shine. Instead of fumbling with multiple cables every time you sit down, a dock lets you connect everything—your monitor, keyboard, mouse, and even power—with a single USB-C cable.
This isn't just about being tidy; it's about pure efficiency. It turns your portable laptop into a full-fledged desktop workstation in seconds. To truly nail an ergonomic setup that supports your productivity, consider investing in the best monitor arms for dual monitors and ergonomic setups. They free up a surprising amount of desk space and let you position your screens perfectly.
The move towards more powerful, portable setups is undeniable. The Netherlands Laptops Market, for example, is poised for strong growth through 2031 as more users pair monitors with their laptops. Screen sizes between 22 and 24.5 inches are expected to command 44.20% of the market—a sweet spot for pairing with a laptop without overwhelming your desk. By intentionally designing your workflow, you can turn a simple monitor and laptop combo into a true productivity machine.
Troubleshooting Common Connection Issues
Even when you’ve followed every step perfectly, technology sometimes just decides not to play ball. If your laptop and monitor are refusing to cooperate, don't panic. Most connection headaches come from a handful of common culprits that are surprisingly easy to fix.
The first port of call is always the simplest: check your physical connections. It sounds almost too obvious to mention, but a cable that's even slightly loose can cause a flickering screen or, more often, no signal at all. Unplug the cable from both ends—the monitor and the laptop—and plug it back in, making sure it’s seated firmly.
If you’re using an adapter or a dock, remember that every extra connection is another potential point of failure. If you can, try connecting the monitor directly to the laptop, bypassing the adapter entirely. If the screen suddenly springs to life, you’ve found your culprit: a faulty adapter.
When the Screen Stays Blank
One of the most frustrating moments is when your laptop gives absolutely no sign that it even sees the external monitor. When this happens, your operating system often just needs a little nudge to look for new hardware.
In Windows, a quick press of the Windows key + P brings up the project menu. Just make sure 'Extend' is selected. Sometimes, that simple action is all it takes to wake up the connection. For both Windows and macOS, diving into your display settings and hitting the 'Detect' or 'Gather Windows' button forces the system to rescan for any connected displays.
Another trick that works more often than you'd think is a sequential restart. Power down both your laptop and monitor completely. Then, turn the monitor on first. Give it a few seconds to fully initialise before turning on your laptop. This specific order often helps the laptop correctly identify the display during its boot-up sequence.
Key Takeaway: Before you get lost in software settings, confirm your hardware is communicating. A secure physical connection and a clean restart solve a surprising number of "no signal" issues.
Fixing Blurry Text and Incorrect Resolutions
What if the monitor is working, but everything just looks… off? Blurry text or a stretched, distorted image is almost always a sign of a resolution mismatch. Your monitor is engineered to look its absolute best at one specific setting, known as its native resolution.
Your first move should be to get into your display settings and check that the resolution for the external monitor is set to the 'Recommended' value. If that option is greyed out or just isn't available, it often points to a driver issue.
- Update Your Graphics Drivers: Your laptop's graphics card is the brain behind the visual output. Outdated drivers can stop it from properly communicating your monitor's capabilities. Head over to the website for your laptop’s manufacturer (or the graphics card maker like NVIDIA, AMD, or Intel) to download and install the latest drivers.
- Check the Cable: Believe it or not, not all cables are created equal. An old or cheap HDMI or DisplayPort cable might not have enough bandwidth to support a high-resolution display, forcing it into a lower, fuzzier resolution. Make sure your cable is rated for what you're trying to achieve (e.g., 4K at 60Hz).
By methodically working through these simple checks—cables, system settings, and drivers—you can solve the vast majority of issues you’ll run into. Before you know it, you'll be back to a crisp, clear, and productive workspace.
Got More Questions?
Even when everything is plugged in and working, a few questions often pop up. Let's tackle some of the most common ones we hear, helping you fine-tune your new, bigger workspace.
Can I Actually Connect a Second Monitor to My Laptop?
Yes, you absolutely can, and many modern laptops are built to handle two external monitors right out of the box. But—and this is a big but—it all hinges on your specific model's graphics muscle and the ports it comes with.
To pull this off, you'll need a laptop with a couple of video outputs (like one HDMI and one Thunderbolt/USB-C) or a dedicated docking station. Another clever solution is a DisplayPort Multi-Stream Transport (MST) hub, which lets you daisy-chain displays.
Before you even think about buying that second screen, do yourself a favour and check your laptop’s technical specifications. A quick search will tell you the maximum number of displays its graphics card can drive, saving you a world of guesswork and potential returns.
Will This Extra Monitor Slow My Laptop to a Crawl?
For everyday stuff—browsing the web, firing off emails, or working on documents—you won't notice a hint of a performance drop. The integrated graphics chips in today's laptops are more than capable of managing an extra display without breaking a sweat.
Now, if you're planning on doing some heavy lifting like high-resolution video editing, 3D rendering, or serious gaming across multiple screens, that's a different story. Those tasks can definitely put a strain on your system. The single best thing you can do to keep everything running smoothly is to make sure your graphics drivers are always up to date.
For normal day-to-day use, an external monitor won't slow down your laptop. The extra processing power required is tiny for tasks that aren't graphically intense, so you can enjoy that bigger screen without any performance anxiety.
How Do I Get Sound to Play Through My Monitor?
So your monitor has built-in speakers? Great. If you've connected it using HDMI, DisplayPort, or USB-C, it should carry the audio signal automatically. All you need to do is tell your computer to use it as the main sound output.
- On Windows: Just click the little speaker icon in your taskbar. A list of playback devices will appear—simply choose your monitor from that list.
- On macOS: Head over to System Settings > Sound > Output. You'll see a list of available devices; select your monitor.
If you're still met with silence, double-check that the monitor's own volume is turned up. It's surprisingly easy to accidentally hit the mute button on the monitor itself.
HDMI vs. DisplayPort vs. USB-C: Which One Is Best?
Honestly, the "best" connection is the one that works with the gear you already have. Each port has its own strengths, and your decision should be based on what both your monitor and laptop support.
Here’s a quick rundown:
- USB-C (especially with Thunderbolt): This is the Swiss Army knife of ports. It often handles video, data transfer, and even power delivery through a single, clean cable. If you're aiming for a minimalist desk setup, this is your winner.
- DisplayPort: This one is all about bandwidth. It's the top choice for high-refresh-rate gaming or for running multiple high-resolution displays from a single port.
- HDMI: As the most familiar connector on the block, HDMI is a reliable workhorse for almost any standard setup, including streaming 4K video without a fuss.
As a rule of thumb, always use the most advanced port that both of your devices share. If you have to choose between DisplayPort and HDMI for a high-performance monitor, DisplayPort is often the technically superior option and the one most enthusiasts would recommend. Knowing these small differences ensures you’re getting the best possible performance.
At People & Media B.V., we believe in the power of continuous learning to unlock your full potential. Explore our curated collection of courses, articles, and podcasts designed to spark your curiosity and help you master new skills. Discover your next learning journey with us.


Responses