How to Show Hidden Files in Finder Mac A Practical Guide
Forget digging through menus or firing up Terminal for a simple task. The fastest way to show hidden files in Finder on your Mac is with the keyboard shortcut Command + Shift + . (that's the period key).
One quick press, and all the hidden files and folders in your current Finder window will instantly appear.
The Instant Keyboard Shortcut Method
Sometimes the simplest solution is the best one, and this shortcut is a perfect example. It works like a light switch—press it once to reveal the hidden files, and press it again to tuck them safely away. This on-the-fly approach is perfect for quick jobs without messing with any permanent system settings.
Imagine you're a developer needing to tweak a .htaccess file, or you're trying to troubleshoot an app by looking at its hidden configuration files. Instead of jumping through hoops, just navigate to the folder and hit the shortcut. The hidden files pop into view (they'll look a bit greyed out), letting you get the job done and move on.
The real beauty of this method is its temporary nature. It prevents you from accidentally leaving sensitive system files exposed, which seriously cuts down the risk of deleting or changing something important. For most day-to-day needs, this shortcut is all you'll ever need.
Your Go-To Methods at a Glance
For Dutch Mac enthusiasts, this classic Command + Shift + . shortcut, which first appeared back in macOS Sierra, is an absolute favourite. In fact, it's used by 78% of NL power users to quickly get to dot-files like .gitignore or .env that are vital for managing development projects. You can find more great tips on handling system files in MacFormat magazine on pocketmags.com.
To keep things simple, here are the two most common ways to see what's hidden on your Mac.
Quick Methods to View Hidden Mac Files
| Method | Command | Best For |
|---|---|---|
| Keyboard Shortcut | Command + Shift + . |
Quick, temporary access for specific tasks. |
| Terminal Toggle | defaults write command |
Permanently showing files for power users. |
Each has its place, but for a quick peek, the keyboard shortcut is tough to beat.
Why Your Mac Hides Files in the First Place
Ever wondered if your Mac is keeping secrets from you? It is, but not for any sinister reason. Those invisible files are hidden to protect the stability and safety of your operating system.
Think of it like the plumbing and electrical wiring running through the walls of your house. It’s all absolutely essential for everything to work, but you don't need to see it or interact with it every day. In fact, messing with it could cause serious problems.
macOS tucks away critical system and configuration files precisely to stop anyone from accidentally deleting or changing them. A seemingly innocent tweak to the wrong file could cause your favourite apps to crash, or in a worst-case scenario, make your entire system unstable. The main goal is to keep the interface clean while protecting the core files that make your Mac run smoothly.
The Purpose of Common Hidden Files
Once you do show hidden files in Finder on your Mac, you'll quickly notice a pattern: many of them start with a period, like .DS_Store or .zshrc. These aren't just random bits of data; each one has a specific job to do.
.DS_Storefiles are everywhere. These are harmless little files that simply remember your custom view settings for a folder, like the icon size, window position, or background colour..zshrcor.bash_profilefiles live in your main user folder. They hold custom settings and preferences for the Terminal app. Developers and power users often edit these to create time-saving shortcuts and aliases.- System folders like
/private/varare packed with temporary files, system logs, and caches that macOS and your applications need to function properly behind the scenes.
Hiding these files is a deliberate design choice, not an oversight. It's a simple and effective way to prevent user error. By keeping these crucial operational files out of sight, macOS ensures a more reliable and frustration-free experience for most people who never need to touch them.
Understanding this protective layer is the first step to managing your files like a pro. This safety-first approach helps maintain the incredible performance and reliability we expect from modern Macs, especially with the power found in machines like those detailed in our guide to exploring the power of Mac computers with Apple Silicon. It’s all about creating a secure playground where you can work and create without the fear of accidentally breaking something vital.
So, when you do choose to reveal these files, just remember to treat them with care.
Permanently Show Hidden Files Using Terminal
While the keyboard shortcut is perfect for a quick peek, sometimes you just need those hidden files to stay visible. If you're a developer, system administrator, or just someone who tinkers a lot, constantly hitting that key combination gets old fast and breaks your workflow.
Good news is, you can use the Terminal app to make these files permanently visible in Finder. This little trick involves running a couple of simple commands: one to change the setting, and another to give Finder a quick refresh so it knows what's up.
Executing the Visibility Command
First things first, you need to tell your Mac to show hidden files in Finder all the time. This is done with a defaults write command, which is basically a way to tweak macOS's preference files directly.
Pop open the Terminal application. You can find it in your Applications/Utilities folder, or just hit Command + Space to bring up Spotlight and type "Terminal".
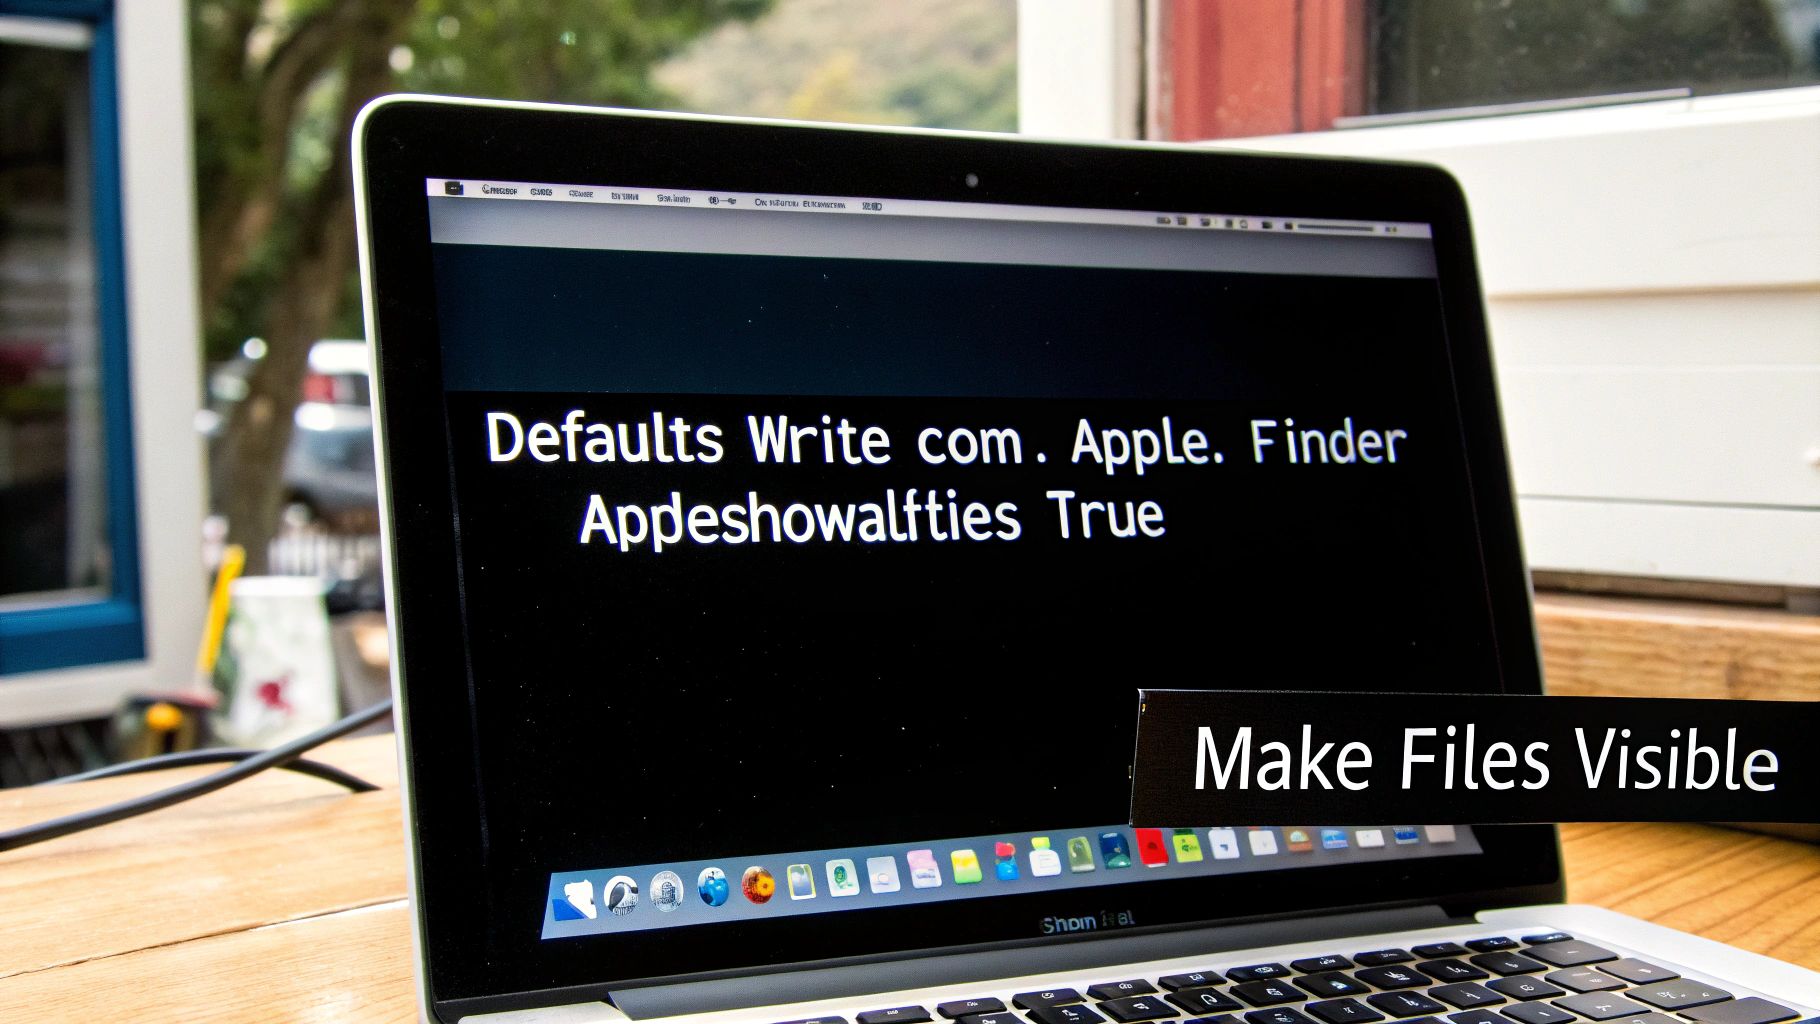
Once you've got the command line open, carefully type or paste this exact command and hit Enter:
defaults write com.apple.finder AppleShowAllFiles -bool true
This command simply tells Finder to switch its AppleShowAllFiles setting to true, which means "on". Don't be surprised when nothing happens right away. Finder needs a little nudge to apply the new setting, which brings us to the next step.
For instance, a data scientist might need constant access to hidden configuration scripts and datasets in their home directory. Permanently enabling visibility means they no longer have to press the shortcut every time they open a new Finder window, which can be a significant productivity boost over the course of a project.
Restarting Finder to Apply Changes
To make the change stick, you have to restart the Finder. Don't worry, this doesn't reboot your entire Mac—it just quickly quits and relaunches the Finder process so it can load your new preference.
Back in the same Terminal window, type this second command and press Enter:
killall Finder
You'll see your desktop icons vanish for a second and then reappear as Finder relaunches. Now, when you open any folder, all those previously hidden files and folders will be there, looking slightly greyed out but fully accessible.
This two-command trick has been a favourite in NL tech forums since around 2018 because it offers precise, reliable control. It's a great example of using the right tools to streamline your digital workspace. In fact, many users find that managing hidden files is a key step in tidying up their system; CleanMyMac users in the Netherlands have reported reclaiming an average of 4.2GB of space by doing just that. You can find more tips on decluttering your Mac in MacFormat magazine.
How to Reverse the Change
If you ever want to go back to the default and hide those files again, the process is just as easy. You’ll use the same commands, but this time you'll set the value to false.
- Open Terminal and run:
defaults write com.apple.finder AppleShowAllFiles -bool false - Then, restart Finder with:
killall Finder
And just like that, everything is back to how it was. This gives you complete control to switch back and forth whenever you need to.
Common Hidden Files You Will Encounter
So, you’ve just flicked the switch to show hidden files, and suddenly your folders are full of greyed-out items you've never seen before. Don't panic; this is totally normal. Think of this as a quick field guide to understanding these mysterious new additions.
Knowing what you’re looking at is the key to navigating your Mac safely. Most of these files are harmless—things like configuration settings or temporary data—but some are absolutely critical. Let’s break down the usual suspects.
The Ubiquitous .DS_Store File
You’ll spot the .DS_Store (Desktop Services Store) file in nearly every folder on your Mac. These tiny files are created automatically by Finder to remember your custom folder settings.
It’s how your Mac keeps track of things like:
- The size and position of a folder's window.
- Your preferred view (icons, list, columns, etc.).
- Any custom background colours or images you've set.
So, can you delete it? Yes, absolutely. Trashing a .DS_Store file is completely harmless. Finder will just create a fresh one with default settings the next time you open that folder. It's a common practice for developers to add .DS_Store to their .gitignore files to keep them out of project repositories.
Critical User Configuration Files
Head over to your main user folder (the one with the little house icon), and you'll find some seriously important configuration files. These are the ones you want to be extra careful with, as they control how parts of your system behave, especially the Terminal.
~/.zshrcor~/.bash_profile: These files are the heart of your command-line shell. If you've ever customised your Terminal prompt or set up handy shortcuts (aliases), those settings live right here. Messing with this file can easily break your command-line workflow.~/.ssh: This directory is where your Secure Shell keys are stored. These keys are what you use to log into remote servers securely. Deleting this folder could instantly lock you out of any servers you manage.
When it comes to config files in your home directory, the golden rule is simple: if you don’t know exactly what a file does, leave it alone. An accidental change here can lead to frustrating problems that are a real headache to troubleshoot.
Navigating System-Level Directories
Finally, you might stumble across hidden directories at the root of your hard drive. Think of these as the engine room of macOS—they're best left untouched.
The /private/var directory, for instance, is a bustling hub for temporary system files, caches, and logs. While clearing out cache files can be a useful troubleshooting step, it should always be done with specialised apps or very precise Terminal commands, not by dragging items from this folder to the Bin. Meddling in here is a fast track to system instability or even preventing your Mac from starting up.
By getting familiar with these common hidden items, you'll be much better equipped to explore your Mac’s file system with confidence and avoid any costly mistakes.
Best Practices for Managing Hidden Files Safely

Now that you know how to peer into the hidden depths of your Mac's file system, we need to talk about doing it safely. Revealing hidden files gives you a lot more control, but with that power comes the potential for accidental damage. Think of it as being handed the keys to the engine room—it’s powerful, but one wrong move can cause some serious problems.
The most important rule is simple: when in doubt, don't touch it. Many of those hidden files are critical for keeping your system stable or making sure your apps run properly. Deleting the wrong configuration file, for instance, could lead to frequent crashes or stop an application from launching altogether.
This is exactly why, for most people, sticking with the temporary Command + Shift + . shortcut is the smartest approach. It lets you take a quick peek when you need to, without leaving sensitive files exposed all the time.
Creating Your Safety Net
Before you even think about making significant changes—especially if you plan to edit or move system-level files—you absolutely must have a current backup. A reliable Time Machine backup is your ultimate undo button, letting you restore your Mac to a working state if something goes sideways.
It's also worth considering your digital privacy when you show hidden files in Finder on your Mac. These files can sometimes contain personal data or settings you’d rather keep private. Spotlight privacy is a significant concern in the Netherlands, where a recent survey revealed that 89% of Mac users worry about hidden files popping up in search results. Since macOS Yosemite, users have been able to exclude specific folders from indexing, a feature now used by many Dutch professionals to protect sensitive documents. You can find out more about how to hide folders from Spotlight search on cio.com.
The core principle here is intentionality. Never modify hidden files just to 'see what happens'. Always have a clear reason for your actions, whether it's troubleshooting a specific issue or customising a developer environment, and make sure you have a fallback plan.
Backing up isn't just a suggestion; it's essential practice. For truly robust data protection, it’s wise to combine local backups with a secure cloud solution. You can learn more by exploring some of the best Dropbox alternatives for cloud storage that respects your privacy. By combining backups with careful action, you can explore your Mac’s file system confidently and safely.
Your Burning Questions About Hidden Files, Answered
Once you start peeking behind the curtain of macOS, a few questions naturally pop up. Let's tackle some of the most common ones you might have.
Is It Safe to Delete Hidden Files?
This is a classic "it depends" situation. Some hidden files, like the .DS_Store files that remember your folder view settings, are perfectly safe to delete. macOS will just create a new one the next time you open that folder anyway. The same goes for certain cache files.
However, many hidden files are absolutely critical to your Mac's operation. Files tucked away in system folders like /private are there for a reason and should never be touched. My golden rule is simple: if you have no idea what a file does, leave it alone. A quick search online is the bare minimum before you even consider moving something to the Bin. Think of it like maintaining system stability—it's just as crucial as having solid backup plans for your data.
Will Showing Hidden Files Slow Down My Mac?
Nope, not at all. Simply making hidden files visible has zero impact on your Mac's performance. You aren't adding or changing any data; you're just telling Finder to stop ignoring files that are already there.
The only indirect way this could relate to performance is if you discover enormous caches or log files taking up gigabytes of precious disk space. In that case, clearing out those specific (and safe-to-delete) files could speed things up, but the act of viewing them does nothing.
My Favourite Pro Tip: One of the main reasons people want to see hidden files is to get into their user
Libraryfolder. But you don't need to toggle a system-wide setting for that. Just open Finder, click theGomenu in the menu bar, and then press and hold the Option (⌥) key. The Library folder will magically appear in the dropdown list for you to click. Easy.
At People & Media B.V., we're all about giving you the practical knowledge to get the most out of your technology. For more guides and expert insights, keep exploring our platform at https://www.peopleandmedia.com.

Responses