Master the Art: Learn How to draw a unicorn in Simple Steps
Ready to draw a unicorn? It's easier than you think. You'll start with some simple shapes—circles for the head and body, ovals for the joints—and then connect everything with graceful, flowing lines.
But the real magic happens when you add the details: a slender neck, a cascading mane and tail, and of course, that iconic spiral horn.
Why Drawing a Unicorn Sparks So Much Joy
Tapping into the world of unicorns is more than just a creative exercise; it’s a way to connect with a powerful symbol of purity, magic, and wonder. This guide isn't just a technical tutorial. It’s an invitation to bring a mythical creature to life on your own terms, no matter your skill level. The whole point is to break down what seems like a complex subject into simple, enjoyable steps that build your confidence and let your imagination run wild.
This fascination with unicorns has been around for centuries. Picture the bustling workshops of 15th-century Brussels, where master weavers were creating art on a monumental scale. Between 1495 and 1505, artisans in the Southern Netherlands produced the stunning Unicorn Tapestries.
Masterpieces like The Unicorn in Captivity placed the mythical beast in lush, vibrant gardens, representing ideas like chastity and resurrection—themes tied to 90% of medieval unicorn lore found in NL manuscripts. For lifelong learners at People & Media B.V., drawing a unicorn today is a nod to this rich history, mixing ancient myth with modern artistry. You can dive deeper into this incredible artwork on Wikipedia's page for The Unicorn in Captivity.
What You Will Learn in This Guide
I’ve organised this tutorial to take you from a blank page to a finished masterpiece, step-by-step. We’ll cover everything you need to make your drawing a success.
- Essential Materials: We'll start with the simple, accessible tools you’ll need to get going. No fancy equipment is required.
- Fundamental Construction: Learn how to use basic shapes as a foundation to build a well-proportioned unicorn.
- Adding Magical Details: This is the fun part. We'll focus on crafting a beautiful mane, tail, and that all-important horn.
- Exploring Creative Styles: Want to try something different? Discover how to draw cartoon, chibi, or even more realistic unicorns.
Drawing isn’t just about copying an image; it’s about pouring a piece of your own imagination onto the page. Every line you draw is a step deeper into a world of your own making.
Choosing the Right Art Supplies for Your Unicorn
Before you can bring a unicorn to life, you’ll need to gather a few trusty tools. Don’t worry, you won't need a professional studio setup to get started. Some of the most enchanting drawings begin with the simplest, most accessible supplies. The real trick is finding the materials that feel good in your hand and work for your style.
Your creative journey starts with paper. A standard sketchbook is absolutely perfect for doodling and getting your initial ideas down. But if you’re planning to add colour later on, you'll want to grab something a bit heavier, like mixed-media paper or even cardstock. This will prevent markers or a light watercolour wash from buckling the page.
Pencils and Erasers for Sketching
Graphite pencils are your best friend for the initial sketch. I always start with an HB pencil for light, feathery construction lines that are super easy to erase. Once I'm happy with the basic shapes, I'll switch to a slightly softer 2B pencil for darker, more confident lines. Mechanical pencils are also a fantastic choice for those crisp, fine details, especially when you get to the horn and eyes.
When it comes to erasers, having a couple of different types on hand is a total game-changer.
- Kneaded Eraser: This is that soft, putty-like eraser. It’s perfect for gently lifting graphite off the page without smudging or tearing your paper. You can even shape it into a fine point for really precise corrections.
- Vinyl Eraser: For completely removing lines and leaving a clean surface, a white vinyl eraser is indispensable. It leaves almost no residue behind, making it great for cleaning up your final drawing just before you add colour.
The right eraser does more than just fix mistakes—it's a drawing tool in its own right. I often use mine to create soft highlights, blend edges, and refine my work with confidence.
Bringing Your Unicorn to Life with Colour
This is where the magic really happens and your unicorn's personality begins to shine through. There are so many options out there, and you definitely don't need to spend a fortune to get beautifully vibrant results. If you're working with a tight budget, there's some great advice on expensive art supply alternatives that deliver quality without the hefty price tag.
Choosing Your Coloring Medium
To help you figure out what might work best for you, I've put together a quick comparison of the most popular colouring tools.
| Medium | Best For | Pros | Cons |
|---|---|---|---|
| Coloured Pencils | Layering and blending soft gradients | High control, easy for beginners | Can be time-consuming to build up rich colour |
| Markers | Bold, vibrant, and even colour fills | Quick application, very bright | Can bleed through thinner paper, hard to blend |
| Watercolours | Ethereal, dreamy, and translucent effects | Beautiful blending, magical look | Requires thicker paper and water control |
Each medium offers a completely different feel, so think about the final look you're going for. Do you want something soft and delicate, or bold and punchy?
For a more complete overview, checking out a guide on essential art supplies for beginners can help you build a solid starter kit. Ultimately, the best choice is the one that gets you excited to start creating.
Building Your Unicorn From Simple Shapes
Want to know the real secret to drawing a unicorn, or anything complex for that matter? It's learning to see beyond the finished, polished drawing and breaking it down into its most basic parts. Every graceful curve, every powerful leg, it all starts with something simple: a circle, an oval, or a triangle. This approach makes the whole process less intimidating and turns it into a puzzle you can actually solve.
Think of yourself as an architect for your mythical creature. You wouldn't start with the decorative trim; you'd begin with the structural blueprint. By mapping out the body with simple geometric shapes first, you lock in the right proportions from the get-go. This sets you up for a much more believable and dynamic drawing in the end.
The journey from a blank page to a finished piece of art follows a pretty straightforward path. You pick your paper, sketch out your idea, and then bring it to life with colour.
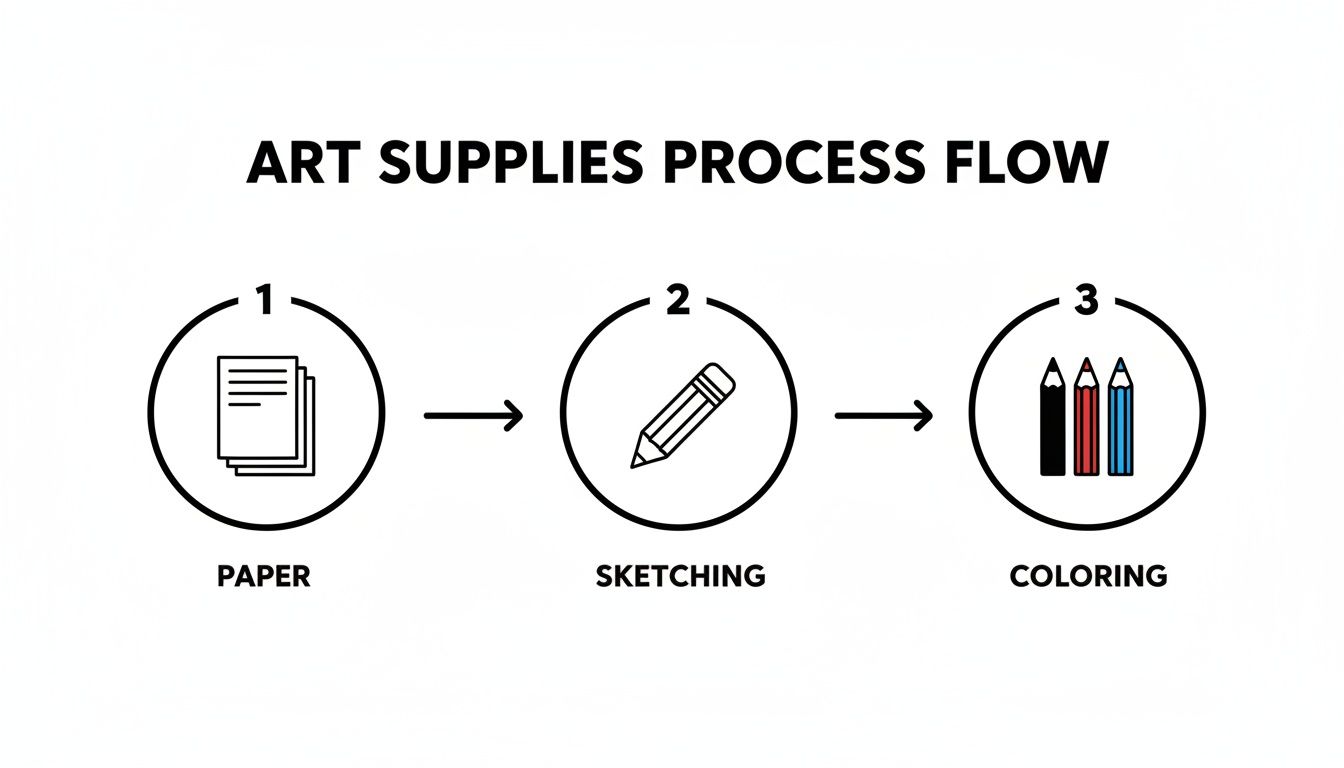
As you can see, every successful drawing is built in logical stages. Each step prepares you for the next one.
Mapping Out the Main Body
Let's kick things off with the biggest parts of the unicorn: the torso and the head. Grab your HB pencil and remember to keep your lines light and feathery. These are just guidelines that you’ll either erase or draw over later on.
- The Torso: Lightly sketch two overlapping circles. Make the circle for the chest area slightly larger than the one for the hindquarters. How much they overlap will decide the length of your unicorn's back.
- The Head: Now, place a smaller circle for the main part of the head. Position it where you imagine the neck will eventually connect to the body.
- The Muzzle: Attach a smaller oval or even a soft, rounded triangle to the head-circle. This will form the muzzle.
That's it. This simple arrangement of three or four shapes creates the entire foundational mass of your creature. You can probably already see the basic form of a unicorn emerging from these humble beginnings.
Your initial sketch is all about finding the rhythm and flow of the pose. Don't get hung up on perfection. The goal here is to create a sense of movement and balance with how you place these core shapes.
Connecting the Shapes and Adding Legs
With the main masses in place, it's time to connect them with smooth, flowing lines to create a unified silhouette. Use a gentle curve to link the top of the chest and hindquarter circles, forming the back. A graceful, S-shaped curve will become the elegant neck, connecting the head to the body.
For the legs, I find it easiest to use ovals for the joints (like the knees and ankles) and then connect them with straight or slightly bent lines. This stick-figure approach is fantastic for getting the placement and posture right before you commit to drawing the full thickness of the limbs. This method isn't just for beginners; it’s a fundamental technique used across many artistic disciplines. If you're keen to explore more structured learning paths, you might find some great ideas in our article on alternatives to traditional art classes.
When you draw a unicorn, you're tapping into a long, rich history of artistry. In the late Gothic workshops of the Southern Netherlands, the period between 1495-1505 was a high point for unicorn mania. Brussels looms produced masterpieces like the Unicorn Tapestries, with some pieces using over 400 pounds of wool and 50 pounds of silk. The most famous panel, The Unicorn in Captivity, symbolised chastity myths that were present in 90% of medieval lore, where it was believed only a virgin could tame the beast.
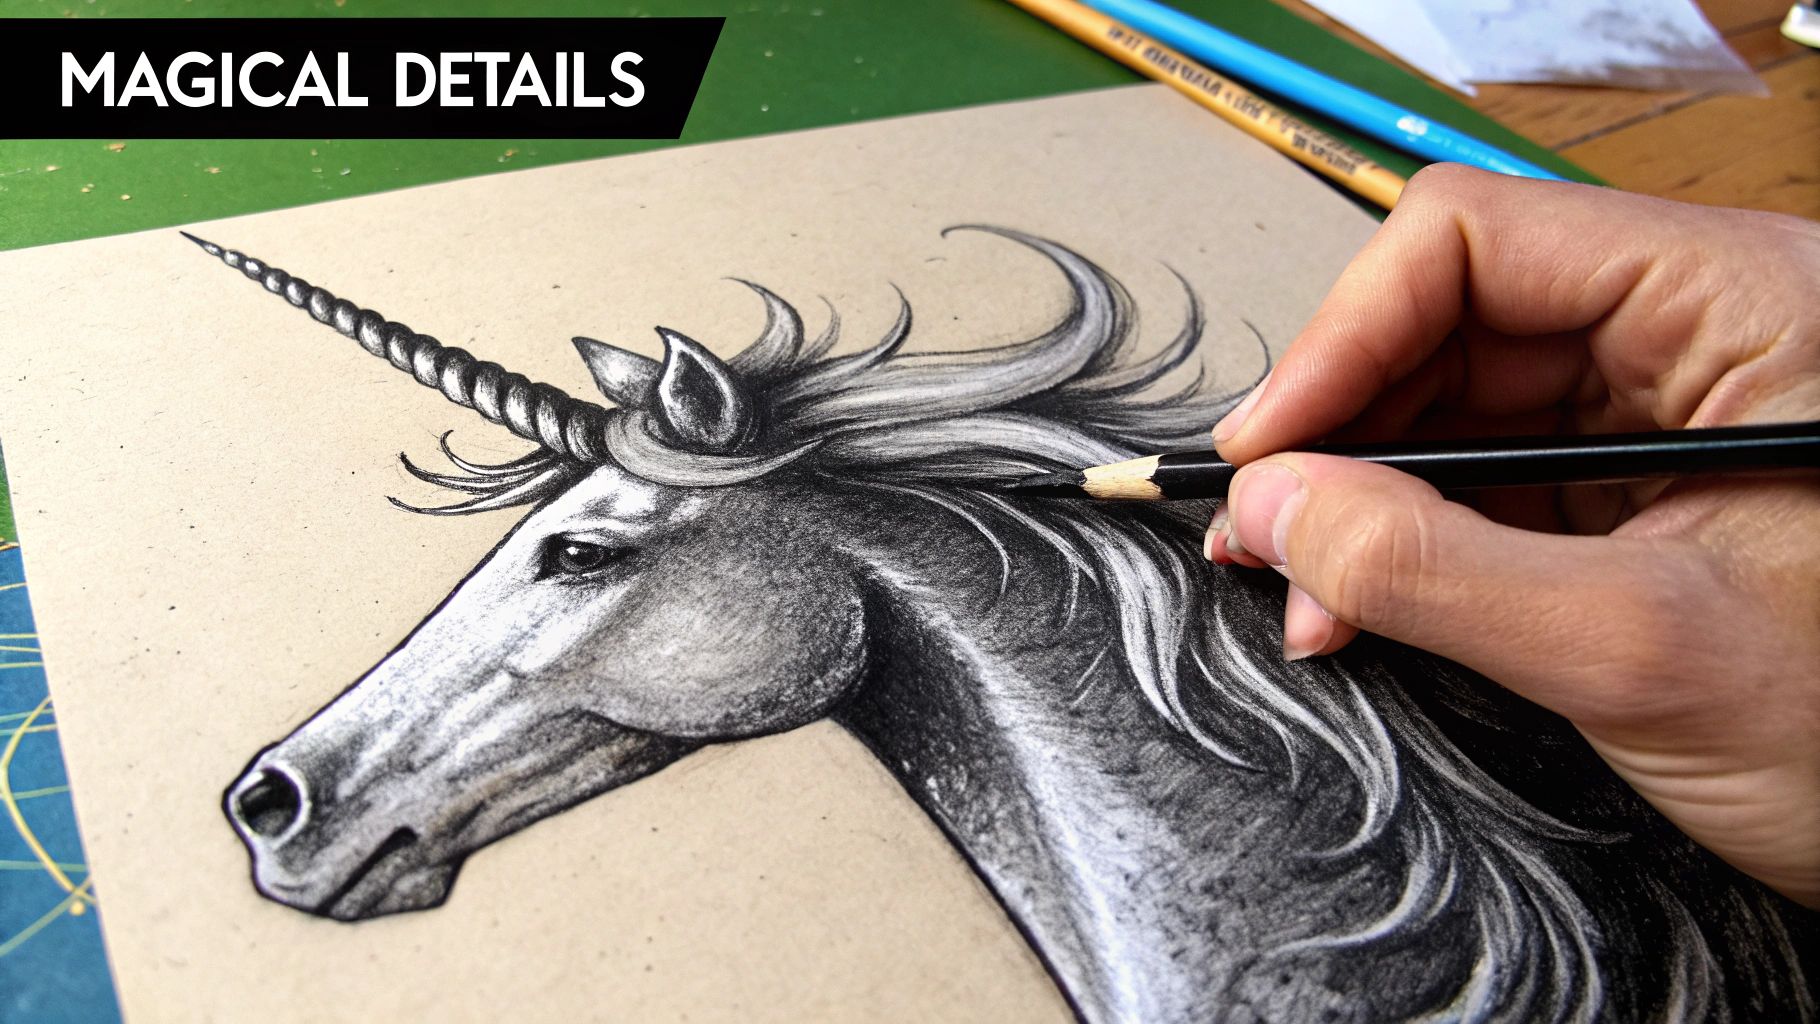
Adding the Magical Details That Bring It to Life
Alright, you've got the basic horse-like structure down. Now for the fun part—transforming it into a mythical creature. This is where we move from simple construction to adding real character, infusing that familiar shape with the details that scream "unicorn." These final touches are what will make your drawing feel alive and full of wonder.
First things first: the horn. It's the most iconic feature, so let's get it right. To give it that classic three-dimensional look, start by lightly sketching a long, thin triangle right from the centre of the forehead. Think of this as your guide. Now, wrap gently curved lines around that triangle, starting from the base and spiralling up to the tip. For a more realistic taper, draw the spiral lines closer together near the base and let them get wider as they go up. This simple trick creates a fantastic sense of depth.
That spiralled horn actually has a pretty wild history. Back around 1500 in the Southern Netherlands, what people believed to be unicorn horns—which were really narwhal tusks—sold for astronomical prices in bustling NL ports like Antwerp. As weavers in Brussels worked on the famous Unicorn Tapestries between 1495-1505, the obsession with these spiralled artefacts hit a fever pitch. It was widely believed that just 1 gram of powdered horn could neutralise 100 times its weight in poison, a serious selling point for the paranoid nobility of the Low Countries. You can dive deeper into this magical history in the Museum Barberini archives.
Crafting a Majestic Mane and Tail
The mane and tail are your best tools for giving the unicorn a personality. Is it a wild, untamed spirit or a calm, elegant creature? Whatever you decide, make sure the flow of the hair follows the movement of the body you've drawn.
- For a Flowing Look: Draw long, sweeping "S" curves that cascade from the neck and hindquarters. Overlap these lines and play with their length to build volume and create the illusion of movement, like it's caught in a light breeze.
- For a Braided Style: Start with a thick, wavy line as a guide for the braid. Then, draw interlocking "C" shapes down its length to build the braided structure. This instantly adds a touch of fairytale elegance.
Don't hold back here. A full, luxurious mane and tail are key to that majestic unicorn presence. I like to think of the hair as ribbons of energy, adding both grace and dynamism to the final drawing.
The best manes and tails aren't just one solid block of hair. They're made of individual locks and strands that weave and overlap. A great tip is to draw a few wispy, stray hairs breaking free from the main shape—it instantly makes the whole thing feel more natural and alive.
Giving Your Unicorn an Expressive Face
The face is where your unicorn's soul really shines through. Tiny tweaks to the eyes, nostrils, and mouth can completely change its expression, shifting it from serene and wise to curious and playful in just a few strokes.
Drawing the Eyes
An almond shape is the perfect starting point. For a gentle, kind look, give the upper lid a soft curve while keeping the lower lid relatively flat. Inside, place a large circle for the iris and a smaller, dark one for the pupil. The final touch? A tiny white dot for a highlight. This one little detail will make the eye look glossy and full of life.
Shaping the Nostrils and Mouth
For the nostrils, you can use simple C-shapes or small teardrop shapes set into the muzzle. A short, slightly upturned line works perfectly for a gentle smile and a serene expression. My advice is to avoid any harsh, straight lines in the face; keeping everything soft and curved helps maintain the creature's gentle nature. It's these small details that truly elevate your sketch into a character with a personality.
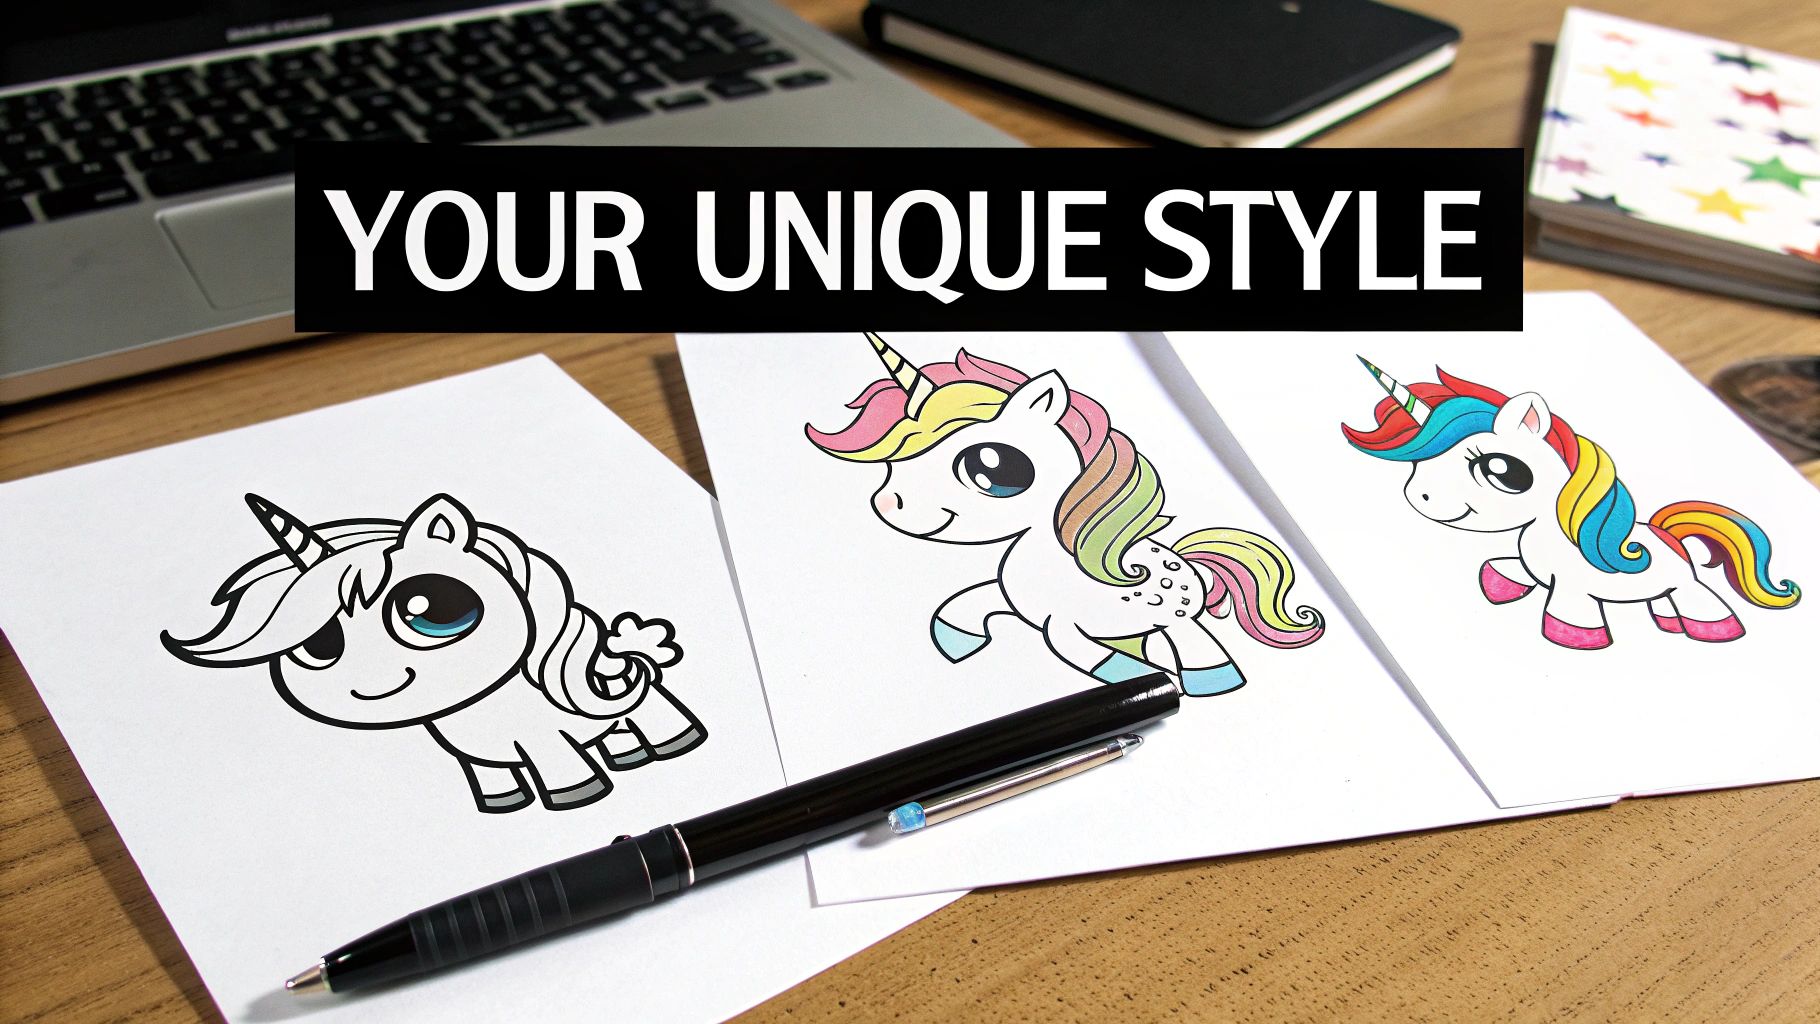
Developing Your Own Unique Unicorn Style
Okay, so you’ve nailed the basics of how to draw a unicorn. The real adventure starts now. This is where you get to move beyond the step-by-step formula and start creating a creature that’s completely, uniquely yours. Think of your unicorn drawing not as a rigid assignment, but as a canvas for your own artistic voice and a bit of storytelling.
Exploring different artistic styles is one of the best ways to figure out what really clicks with you. You can take that core drawing you’ve practised and start pushing it into all sorts of popular aesthetics, each with its own vibe. What kind of feeling do you want your unicorn to have? Is it playful and cute? Or maybe something more elegant and majestic?
Experimenting With Popular Styles
Finding a style you love can be as simple as trying on a few well-known approaches for size. Each one gives you a totally different lens through which to see the classic unicorn form.
- Chibi Style: This super popular Japanese style is all about maximum cuteness. The trick is to exaggerate the proportions—think a huge head, massive expressive eyes, and a tiny, rounded body. Keep the details minimal and the colours bright and poppy for that irresistible charm.
- Classic Cartoon: For a more timeless look, focus on bold, clean outlines and simplified shapes. This style is all about expressive features and a friendly, approachable feel. Just look at your favourite animated characters for a jolt of inspiration.
- Realistic Approach: If you’re really up for a challenge, have a go at a more realistic unicorn. This means getting a bit nerdy and studying horse anatomy to get the proportions and musculature just right. You’ll want to pay close attention to subtle shading and light to create a real sense of depth and form.
Honestly, the unicorn drawings that really stick with you are the ones that reflect the artist's personality. Don't be afraid to break the rules a little. Mix and match elements from different styles to create something that feels new and original. Your unique voice is your biggest artistic strength.
Placing Your Unicorn In An Imaginative World
A compelling background can be the difference between a simple character sketch and a full-blown illustration that tells a story. The world you build around your unicorn adds context, sets the mood, and dials up the magic. It gives your creation a place to belong.
For anyone curious about digital tools, exploring methods for creating custom unicorn designs with AI can be a fantastic way to brainstorm. It can spit out some incredible inspiration for backgrounds and styles you might never have considered on your own.
Creative Prompts For Magical Backgrounds
Feeling a bit stuck on where to put your unicorn? Here are a few prompts to get your imagination fired up. And remember, the background doesn't need to be some epic, complex masterpiece. Even simple elements can make a massive impact.
- An Enchanted Forest: Picture your unicorn standing among ancient, mossy trees, with glowing mushrooms casting a soft, ethereal light.
- Under A Starry Night Sky: Place your creature beneath a swirling, galactic sky packed with constellations and a big, luminous full moon.
- Amidst A Field Of Glowing Flowers: Draw your unicorn in a meadow where the flowers themselves are the source of magical light.
By playing with different styles and inventing imaginative settings, you're not just drawing anymore—you're world-building. These explorations are a massive part of any artist's journey, almost like studying the works of the old masters. And for those interested in how established art gains value, you can learn more from our list of top art picks on Masterworks.
Every new unicorn you draw is another step forward in carving out your own signature style.
Common Questions About Drawing Unicorns
Even with a solid guide in front of you, questions are bound to pop up, especially when you're tackling something new. Drawing a mythical creature like a unicorn is a classic example. Let’s walk through some of the most common sticking points artists run into and give you some practical advice to sharpen your technique and boost your confidence.
Getting the proportions right and adding those magical finishing touches are often where people feel a bit lost. But don't worry, a few targeted tips are all it takes to get past these hurdles.
What Is the Hardest Part of Drawing a Unicorn?
For many artists, especially when they're just starting out, it all comes down to the legs and the horn. Unicorns are built on horse anatomy, and horse legs have complex, bony joints that can be a real headache to draw realistically. That iconic spiral horn also throws a unique perspective challenge into the mix.
A great trick for the legs is to break them down into simpler shapes first. Use small ovals to mark where the major joints go—think of the knee and ankle—and then connect them with simple lines. This gives you a natural-looking, balanced posture before you even start thinking about muscles and definition.
As for the horn, start with a long, skinny triangle as a guide. Then, draw curved, diagonal lines wrapping around it. If you make the spirals tighter near the base and let them get wider toward the tip, you'll create a really convincing illusion of a 3D, tapered shape. Just practising these two parts on their own can make a world of difference.
How Can I Make My Unicorn Drawing Look Unique?
This is where the fun really begins. Originality is all in the details you decide to add. Instead of going for the classic, pure-white unicorn, why not play around with colour? Maybe your unicorn has a coat that shimmers like a galaxy or glows with the warm colours of a sunset.
Customising the mane and tail is another fantastic way to make your creation stand out.
- A Fiery Mane: Try using reds, oranges, and yellows to give it a mane that looks like it's made of pure flame.
- A Crystalline Tail: How about drawing a tail that seems to be crafted from jagged, translucent crystals?
- Floral Adornments: You could weave delicate flowers and vines through its hair for an enchanted, forest-dweller feel.
Take a moment to think about your unicorn's personality. Is it a noble guardian of an ancient forest? Or maybe a playful spirit from a hidden meadow? Let that character inspire your design choices, from the look in its eyes to the patterns on its coat.
The most memorable unicorn drawings are the ones that tell a story. Adding small, unique elements like feathered hooves, unusual markings, or even a different style of horn can transform a generic drawing into a one-of-a-kind character.
What Are Some Common Mistakes to Avoid?
One of the most frequent slip-ups is making the body look too stiff or boxy. Always try to use flowing, curved lines for the neck, back, and belly—this creates a much more graceful and organic feel. Another common pitfall is misjudging the head-to-body ratio. A quick search for horse photos online can be a huge help in getting those proportions just right.
Finally, a classic beginner's mistake: pressing down too hard with your pencil during the initial sketch. Keep those early construction lines light and easy to erase. This lets you make changes without smudging your work or leaving ugly dents in the paper. Save the darker, more confident lines for when you're totally happy with the foundational drawing.
At People & Media B.V., we believe that creativity is a journey of continuous discovery. Explore our diverse range of courses, articles, and creative prompts to keep your imagination flowing and your skills growing. Visit us at https://www.peopleandmedia.com to find your next source of inspiration.


Responses